Render Props in React for Component Reusability

The website development space, particularly frontend development has witnessed significant transformation over the past few years owing to the arrival of cutting-edge tools such as Angular, React, and more. Talking specifically, React has simplified the web development space by introducing responsive UIs that highly drive website traffic.
Moreover, applying design patterns has become a crucial practice in the field of front-end development. These patterns have developed to meet the unique requirements of React, providing sophisticated answers to the common problems developers encounter while creating reliable components and apps. Compound components, higher order components, custom hooks, and react props are some examples of design patterns used in React. In this article, we will explore the React Render Props design pattern with some practical examples and how you can use it to boost react component re-usability and streamline your code.
Terms to Know Before Learning Render Props:
React Element: A React Element is the fundamental building block of React applications, representing a plain object that defines what should appear on the screen.
React Component: A React component is a JavaScript function that takes inputs (called props) and returns a piece of JSX or React elements.
Parent Component: A Parent Component is a higher-level component that contains one or more child components. It typically passes data or functions down to its child components to manage or control their behavior.
Child Component: A Child Component is nested inside a parent component. It receives props from the parent and can use these props to render content or trigger functions defined in the parent.
React Props: Props are used to pass data from a parent component to a child component. Props can include various types of data, such as states, functions, arrays, objects, primitives, and more.
What are Render Props?
Render Props is a react design pattern that allows parent components to share code with child components using a function prop. This function prop, called a "render prop," gives you the flexibility to customize how a component renders its content by passing a function as a prop.
In simple terms, Render Prop is nothing but a function passed from the parent component to the child component called render props function. The render props function contains JSX (JavaScript XML), which is directly render by the children component.
Read More: Top Tips for Passing Props in React Components
Implementing Render Props in React Components
To use render props, you need to follow these steps:
In the parent component, define the logic that you want to share between components. This component will pass the logic down to child components using a render prop.
Create a prop (e.g., render) in the parent component that will accept a function. This function will define how the child component should render its UI, and it will be called to render the output in the child.
Use the render props pattern to pass the render logic as a function. This allows the child component to access the parent component's state or behavior and decide how to render the UI based on the data it receives.
If the child component requires more flexibility in how it renders, you can use the children's prop to provide additional content that will be dynamically rendered by the child component.
The child component will receive the render function via the render prop pattern and invoke it inside its own render logic to display the appropriate content.
By following this approach, you can achieve code sharing between React components. This allows for a clean separation of concerns, enabling components using a prop to reuse the logic without duplicating code.
The render props pattern is particularly useful when you need to reuse similar behavior in multiple components while still allowing each component to maintain its own specific rendering logic.
Looking to bring flexibility and reusability to your frontend architecture? Hire React developers for your projects and build scalable components using patterns like Render Props.
Example 1:
This example demonstrates a simple "Hello World" program using the render props pattern in React with function-based components.
Code with Explanation :
The App component serves as the main component and renders the Parent Component. The Parent Component passes a render prop function that outputs "Hello World" to the Child Component.
This render prop function is used by the Child Component to determine what content to display. Inside the Child Component, the render() function is called and renders the content provided by the parent.
Instead of hard coding UI in the Child Component, it gets the UI from the function passed in the render prop. This is the key part of the "Render Prop" pattern.
//App.jsx
import { useState } from "react";
export default function App() {
  return (
    <div>
      <ParentComponent />
    </div>
  );
}

// Parent Component
import React from "react";
import ChildComponent from "./ChildComponent";

export default function ParentComponent() {
  return (
    <div>
      <ChildComponent render={() =>
        <h1>"Hello World!"</h1>
        }
      />
    </div>
  );
};

// Child Component
import React from "react";

export default function ChildComponent({ render }) {
  return render();
};
Output:
Example 2:
This example demonstrates how to create reusable and flexible components using React's render props pattern. We will create a single reusable form component that can handle both Sign In and Log In functionality.
Code with Explanation :
The App component serves as the parent component that renders two different forms using the Form Handler component: one for Sign Up and one for Log In.
// Sign Up Form
<FormHandler
   // Passing the form heading as "Log In" to customize the form title
   formHeading="Sign Up"
   render={({ formData, handleChange, formHeading, handleSubmit }) => (
   <form onSubmit={handleSubmit}>
     <div>
       <div>
           <label htmlFor="firstName">First Name :</label>
           <input
             type="text"
             name="firstName"
             id="firstName"
             value={formData.firstName}
             onChange={handleChange}
           />
       </div>
       <div>
           <label htmlFor="lastName">Last Name :</label>
           <input
             type="text"
             name="lastName"
             id="lastName"
             value={formData.lastName}
             onChange={handleChange}
           />
       </div>
       <div>
           <label htmlFor="email">Email :</label>
           <input
             type="email"
             name="email"
             id="email"
             value={formData.email}
             onChange={handleChange}
           />
       </div>
       <div>
         <label htmlFor="password">Password :</label>
           <input
             type="password"
             name="password"
             id="password"
             value={formData.password}
             onChange={handleChange}
           />
       </div>
     <button>
       {formHeading}
     </button>
   </div>
 </form>
 )}
/>

//Login Form
<FormHandler
  // Passing the form heading as "Log In" to customize the form title
  formHeading="Login"
  render={({ formData, handleChange, formHeading, handleSubmit }) => (
    <form onSubmit={handleSubmit}>
      <div>
        <div>
          <label htmlFor="userEmail">Email :</label>
            <input
              type="email"
              name="email"
              id="userEmail"
              value={formData.email}
              onChange={handleChange}
            />
         </div>
         <div>
           <label htmlFor="userPassword">Password :</label>
           <input
             type="password"
             name="password"
             id="userPassword"
             value={formData.password}
             onChange={handleChange}
           />
         </div>
     	 <button>
       	   {formHeading}
     	 </button>
       </div>
    </form>
  )}
/>
Each Form Handler receives a formHeading prop (which changes the form title) and a render prop (a function that returns the JSX for the form). Both forms share the same form logic and handleChange, handleSubmit handlers.
//Form Handler Component
import React, { useState } from "react";

export default function FormHandler({ formHeading, render }) {
  const [formData, setFormData] = useState({
    firstName: "",
    lastName: "",
    email: "",
    password: "",
  });
  const [errorMsg, setErrorMsg] = useState("");

  function handleChange(e) {
    let { value, name, type, checked } = e.target;

    setFormData((prevData) => {
      return {
        ...prevData,
        [name]: type === "checkbox" ? checked : value,
      };
    });
  }

  function handleSubmit(e) {
    e.preventDefault();
    console.log(formHeading);
    if (formHeading === "Sign Up") {
      if (
        formData.firstName.length === 0 ||
        formData.lastName.length === 0 ||
        formData.email.length === 0 ||
        formData.password.length === 0
      ) {
        setErrorMsg("Please fill in all fields");

        return;
      }
    }

    if (formHeading === "Login") {
      if (formData.email.length === 0 || formData.password.length === 0) {
        setErrorMsg("Please fill in all fields");
        return;
      }
    }

    setErrorMsg("");
    alert("Form Submitted");
  }

  return (
    <div>
      <h2>{formHeading}</h2>
      {<p>{errorMsg}</p>}
      {render({ formData, handleChange, formHeading, handleSubmit })}
    </div>
  );
Output :

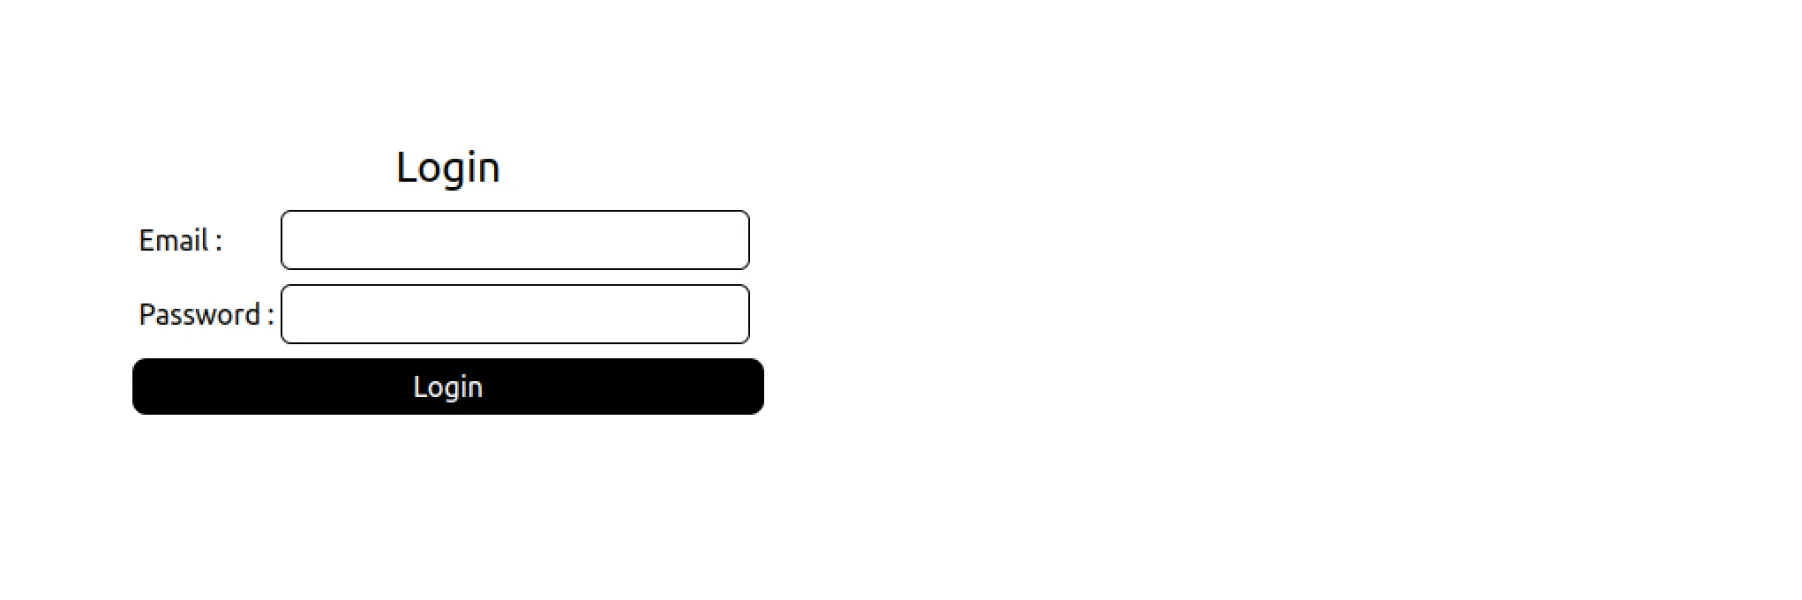
By using the render prop pattern, the FormHandler component is reusable for different types of forms (e.g., Sign Up, Log In) while keeping form logic consistent and centralized.
Practical Usage of Render Props Pattern
Toggle Component: A Toggle Component using the render prop pattern allows you to manage and share state (like a toggle on/off state) between components while giving the parent component full control over how the UI should be rendered.
Form Handling: As demonstrated in Example 2, when building reusable form components that handle form state, validation, and submission logic, you can use the render prop pattern to expose the required functionality.
Mouse Tracking: Render props can be used to track mouse movement or other events, where the logic of tracking is abstracted into a component and only the UI needs to be customized.
Infinite Scrolling or Pagination: Render props can be used to handle complex functionality such as infinite scrolling or pagination, where the component handles the logic for loading more data but leaves the UI rendering to the parent.
Advantages of Render Props Pattern
Separation of Concerns: The render prop pattern allows you to separate the logic of a component from its rendering. For example, in the case of a form handler, you can separate the logic (handling form state, validation, submission) from the presentation (how the form fields are displayed). This separation ensures that components are focused on a single responsibility and makes the code easier to maintain.
Code Reusability: With render props, you can extract shared logic into a single component (e.g., form handling, data fetching, or mouse tracking) and reuse it across different parts of your application without duplicating code. This can dramatically reduce the amount of boilerplate code and make your app easier to scale.
Flexible and Customized Components: The render prop pattern gives you full control over how the UI is rendered. Since the component is passed a render function, you can customize the UI elements to meet the specific needs of different parts of your application.
Dynamic Behavior: You can use render props to handle dynamic behavior within a component. For instance, you could use a render prop to dynamically change what is displayed based on user interactions or the state of your application.
Composition over inheritance: Render props encourage composition rather than inheritance. You can compose multiple components together, each providing specific behavior, without needing to subclass or extend other components. This allows for more flexible component designs and reduces the tight coupling between components.
Disadvantages of Render Props Pattern
Prop Drilling: As components become more deeply nested, the Render Props pattern can result in prop drilling, where props are passed through several intermediary components before reaching the target component. This can make the code harder to read and maintain. However, using patterns like React Context can help mitigate this issue.
Performance Concerns (Unnecessary Re-renders): Render props involve functions, which may result in excessive re-renders if the render prop function is defined inside the render method and not memoized.
Conclusion
Thus, it can be inferred that the Render prop pattern is a powerful technique for rendering components in React, where a parent component passes a function as a prop to its child component. This function, known as the "render prop," is called to render the UI and allows the child component to receive data or render logic dynamically. By using render props, you can reuse component logic across multiple components without resorting to higher-order components or inheritance. This pattern provides flexibility, enabling a component to delegate part of its rendering responsibility, while still maintaining control over the render method.
However, it is important to be cautious of potential pitfalls, such as excessive nesting or performance issues, when overusing the pattern. In some cases, render props may be replaced by alternatives like React hooks or context, which can simplify the code and improve performance. Mastering the render prop pattern allows you to create more flexible, reusable components, promoting a cleaner and more maintainable codebase by separating concerns and rendering logic efficiently.

Related articles

AI Integration in React Applications: Building Intelligent UIs with TensorFlow.js and Brain.js