10 Essential VS Code Extensions for React Development

Brief: Choosing the right tools can greatly enhance productivity and code quality in React development. This article highlights 10 essential VS Code extensions that simplify tasks like refactoring, writing boilerplate code, formatting, testing APIs, and collaborating with Git. Whether you're building new features or maintaining existing ones, these extensions can streamline your workflow, reduce repetitive tasks, and improve overall efficiency in your React projects.
We are always looking for ways to make your coding journey easier and more efficient. One powerful approach is using VS Code extensions tailored for React developers. These tools can boost productivity, enhance code quality, and create a more seamless development environment.
Top 10 VS Code Extensions for React
VSCODE React refactor
Codeium-AI
Import const
Auto Rename Tag
Tabnine AI
ES7 React/Redux/GraphQL/React Native snippets
Gitlens
CodeSnap
Prettier
Thunder Client
1. VSCODE React Refactor
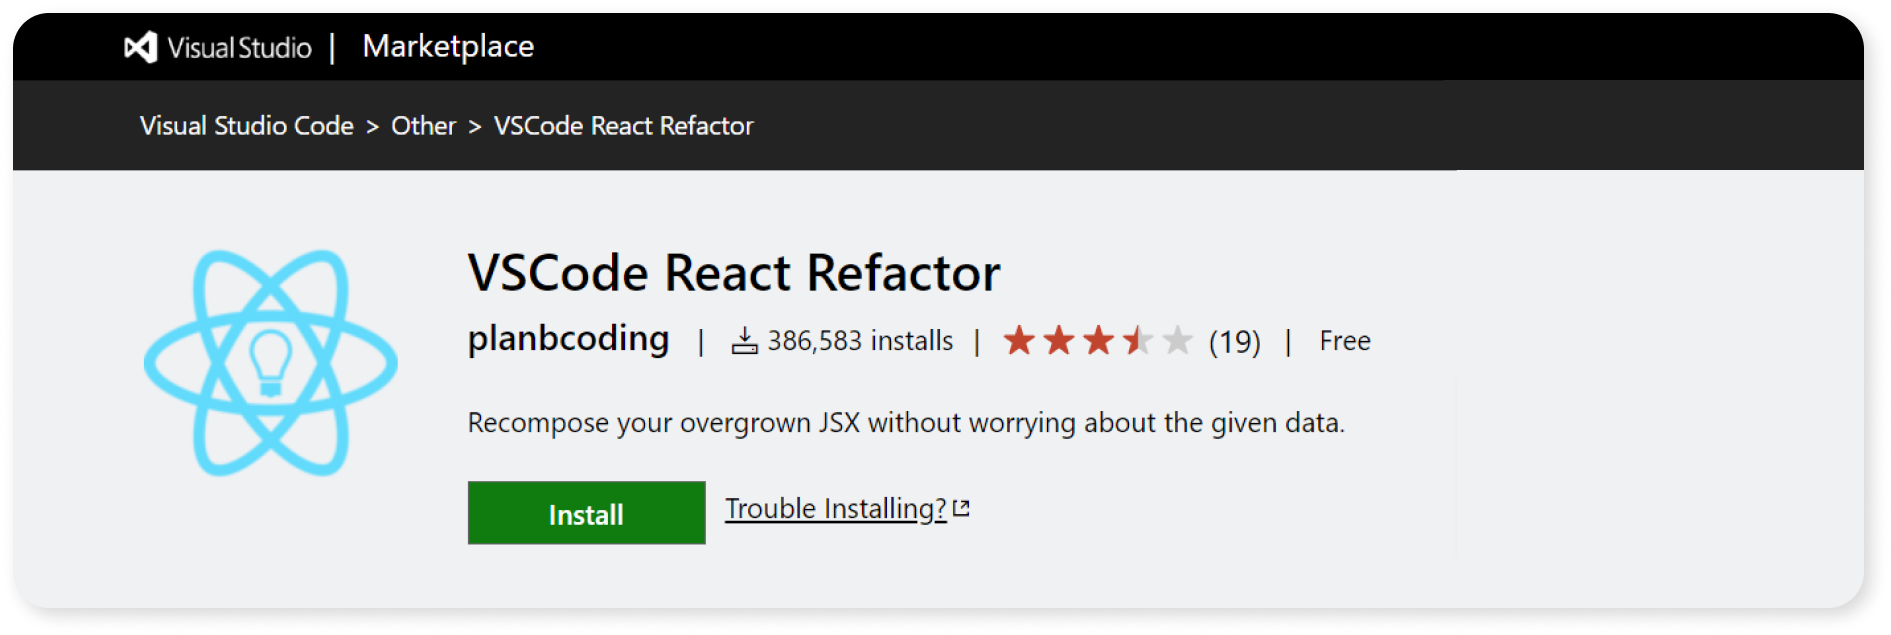
In React, when we code we just go with the flow of React code and sometimes forget about the structure of the code. Here the “VSCODE React Refactor” extension will be very helpful. It creates a function that returns the JSX or creates a File that returns the JSX.
These are the steps which you need to follow:
We can use it by selecting the code and clicking “right click”
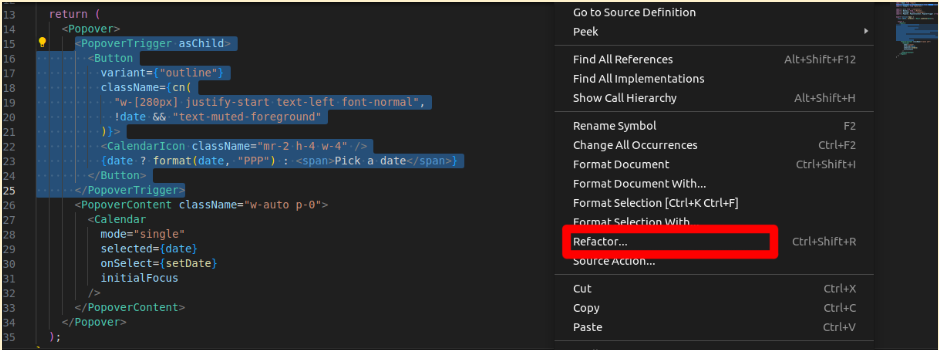
Click on “Extract to inner function” and “Extract to function in module scope” are the most used options
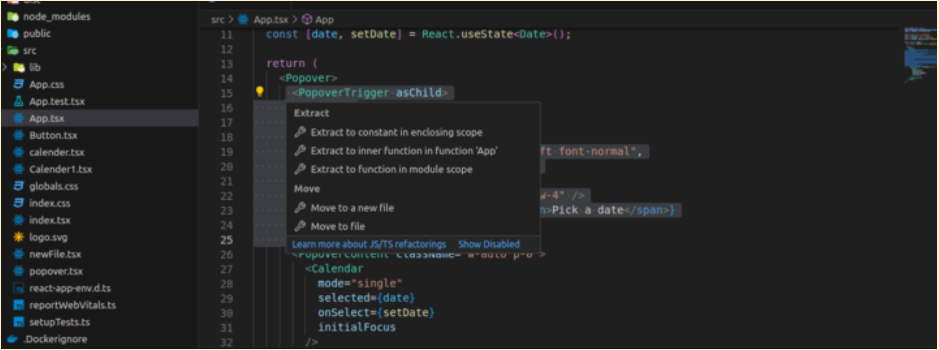
Choose the option based on your code; it will refactor the code and create it.
2. Codeium- AI
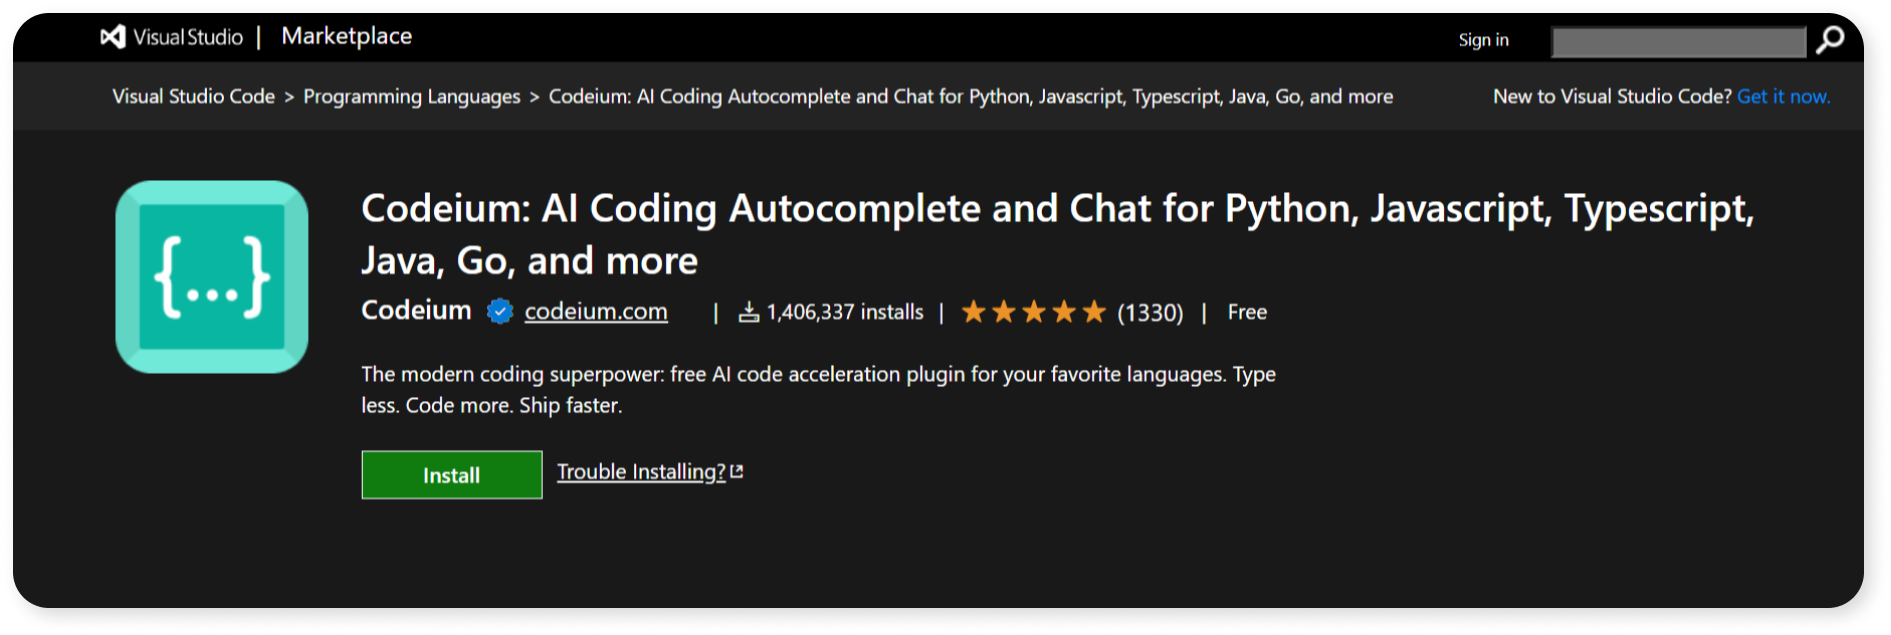
When we are in projects, writing comments is necessary to make it easy for others to understand what our code does. It’s also a very time-consuming development process. This extension will help you escape it. The extension generates comments; if you write comments, it will suggest boiler code.
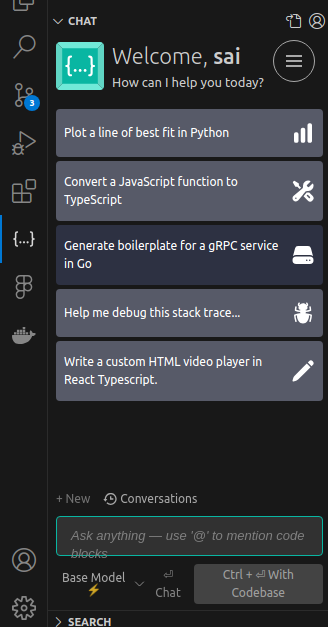
Not only does it suggest boilerplate code but also generates comments. You can get superchat on your left side where you can clear any coding doubts.
After installing the Codeium-AI these are the main features you can use:
You will get to see the options above every function; they are Refactor, Explain, and Generate Doc.
The refactor will suggest options as normally when we see a new code we don't understand how functions work. If you click on the Explain option it will explain the code how it works. After completion of the code doc needs to be created to make it understandable to others if you click on Generate Doc will show the generated Doc in the superchat box on the left side.
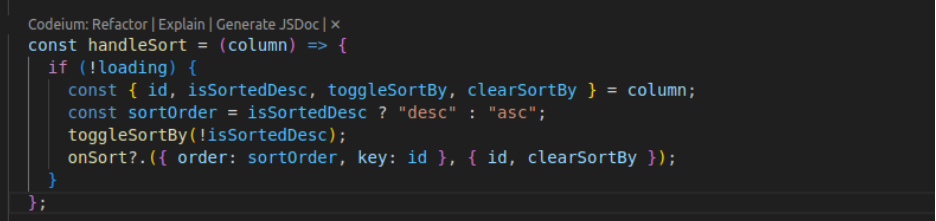
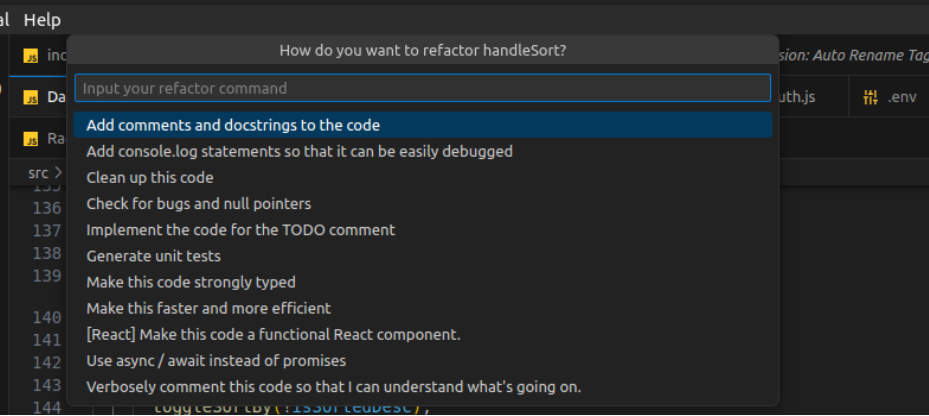
If you click on Refactor you will get to see the below options here every option is very helpful. It will add comments, console logs, promises, etc..
If we use explain or doc, it will give a reply through this super chat box
3. Import const

Import Cost is another excellent VS Code extension for React developers.
We use libraries in React and we usually see only the usage of the library after checking that we install it and import it in the code. This Extension will show the size import you have done.
Here is the example for the extension

It shows size which can help us to estimate how much memory size the page loads. It stands out as an essential tool.
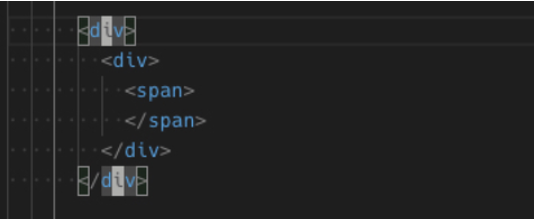
4. Auto Rename Tag
When we write JSX elements coding start tag and end tag and when we change the start tag we have to find where the end tag is,This whole process is very annoying.
But by using Auto Rename Tag extension we write our code very peacefully. It will automatically add the end tag after adding the start tag and change the end if we change the start tag.
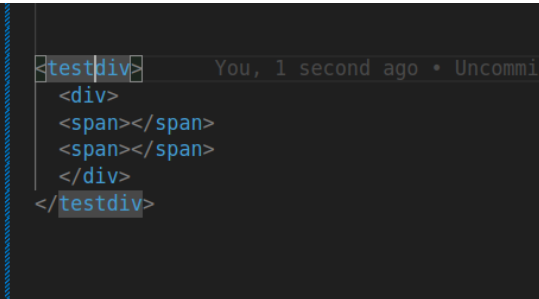
Here is an example of how it works, If you observe the two images below
It automatically creates the end tags once we finish the start tag.
Here when we edit the start tag end tag is automatically edited
5. TabNine AI
TabNine AI is used for software developers to complete the codes. It uses large datasets internally to identify what a developer is trying to type. The main purpose of this software is to show the inline suggestions of code blocks that we are writing which ultimately saves time in writing the codes.
The TabNine AI is used not only for large teams but also for individuals who are beginners in writing codes. It assists developers by giving suggestions on whether they want to write the suggested code or not. It supports multiple languages like JavaScript, Python, and Java. Tabnine AI promises that our application code will never be breached.
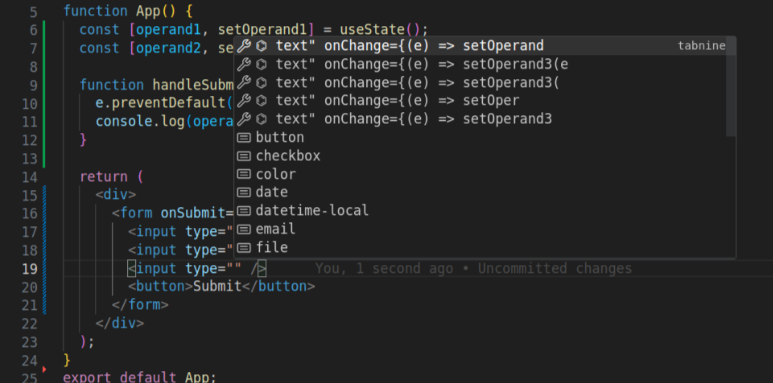
In the example mentioned above, when a developer is writing code, the suggestion box appears. The Developer can choose to accept or reject these suggestions based on his requirements. So this is the primary use of TabNine AI.
Get Top of the Class Performance and Code Maintainability
Angular Minds, a Leading Reactjs Development Company, is proficient in safeguarding your productivity and code quality with vs code extensions.
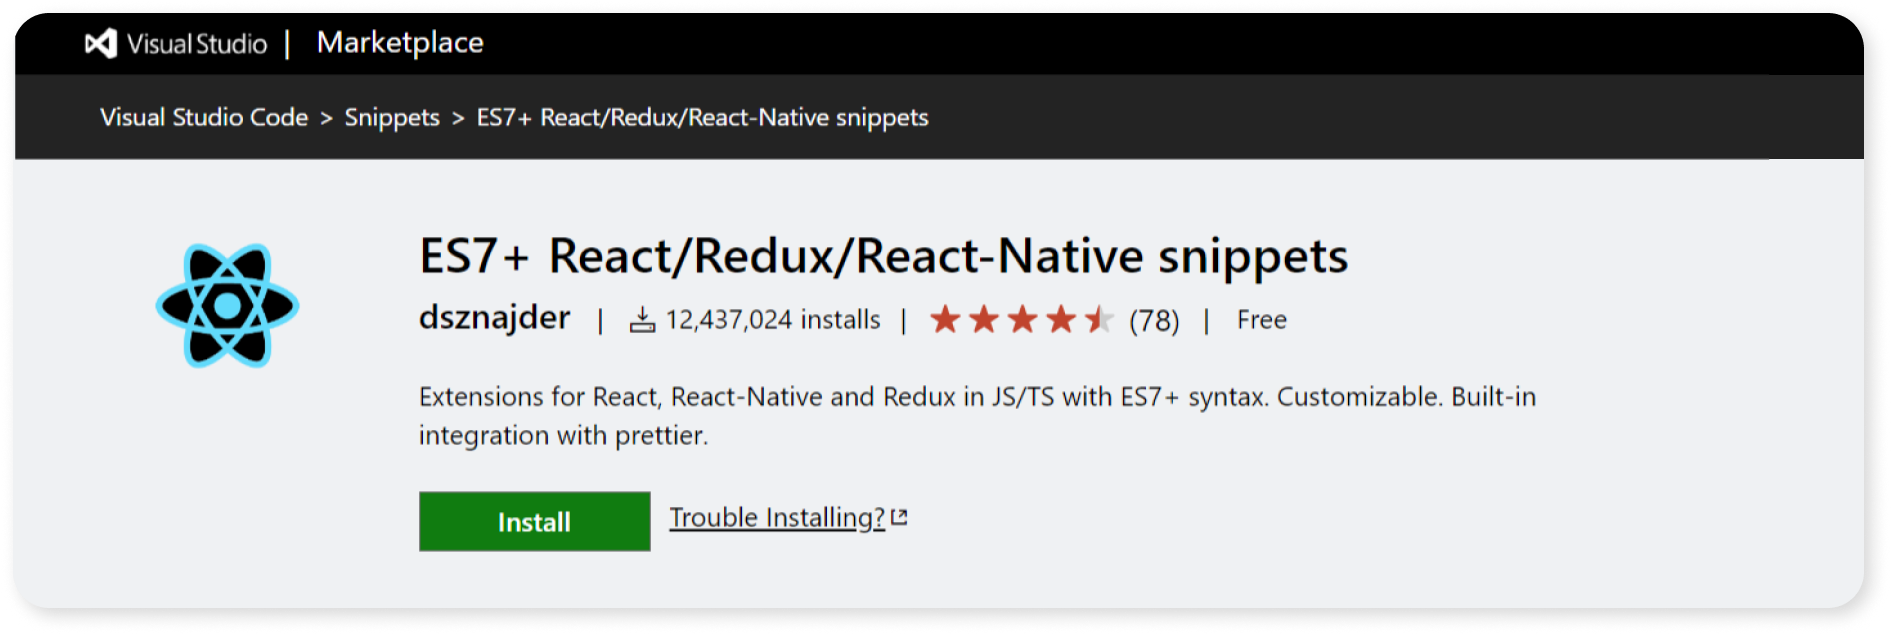
6. ES7 React/Redux/GraphQl/React Native Snippets
Get top of the class performance and code maintainability
Angular minds, a leading reactjs development company, is proficient in safeguarding your productivity and code quality with vs code extensions.
ES7 React/Redux/GraphQl/React Native snippet is used to create the boilerplate code of the application. This snippet has a predefined boilerplate code in the snippet and has given the shortcuts to use it, if we use the shortcuts then we get the desired boilerplate code of that particular snippet. So, it will save time from writing the boilerplate code every time.
This extension has various shortcuts such as “imr” for importing the React library,”rxreducer” for redux reducer template, etc. For instance, if we want to in React development create a functional component then we have to write “rfce” and then it will provide us the entire boilerplate for the React functional component. This will ultimately help developers to create functional components in React applications easily, save time, and also help to eliminate errors in the code.
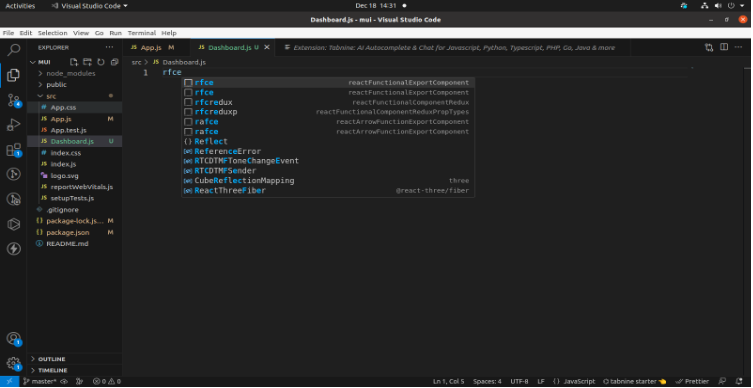
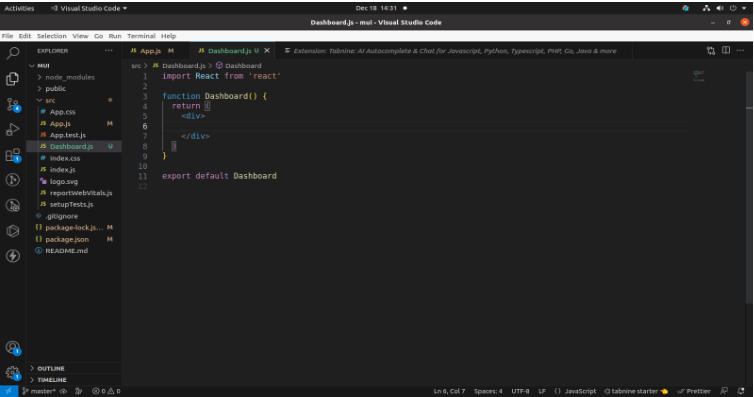
In the example mentioned above, when we used React developers entered rfce and selected it. It provided the full code formatted entire boilerplate for the React functional component which reduced our time from writing the entire code.
7. Gitlens
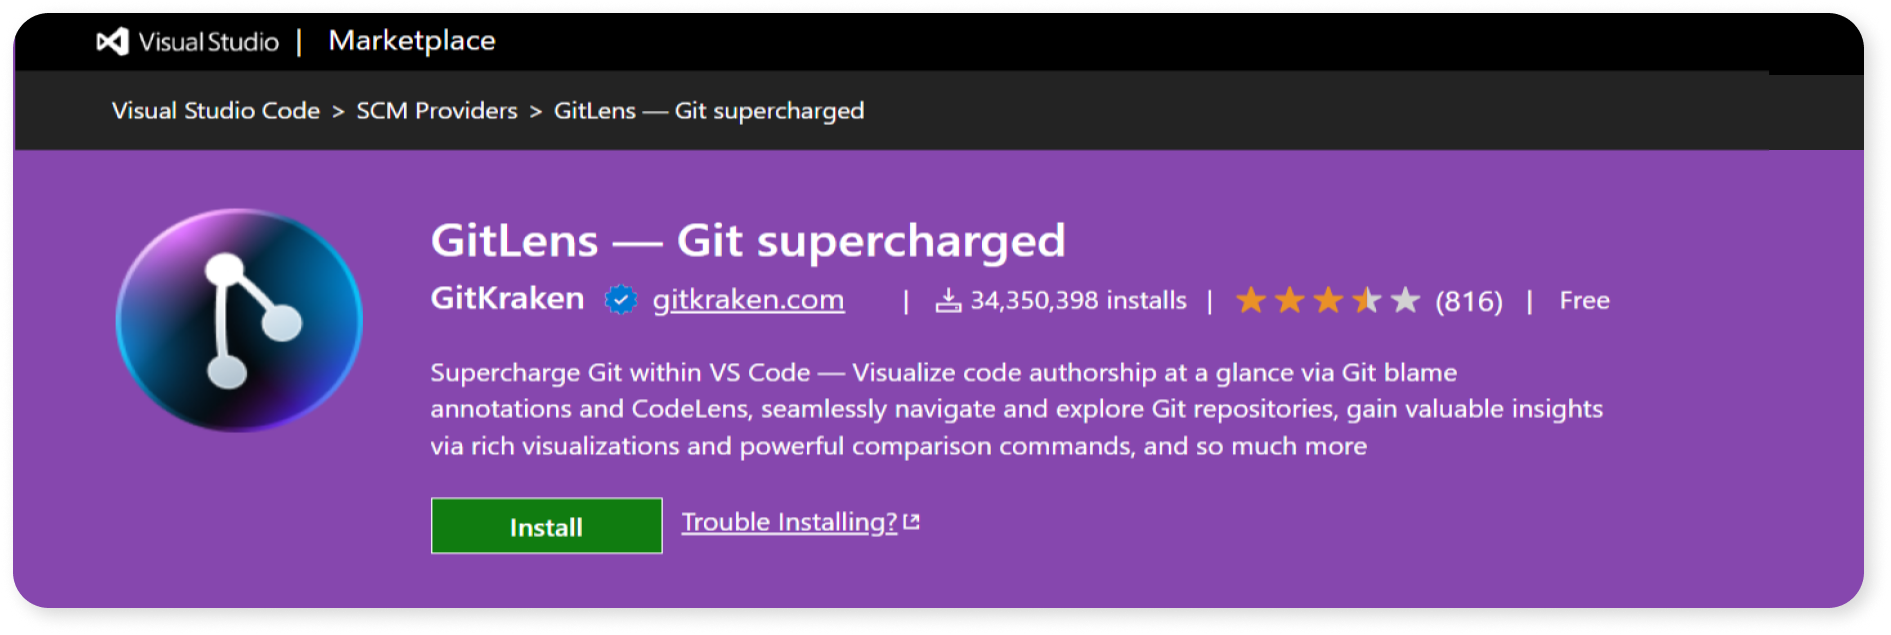
Gitlens adds git experience within the editor. It makes it easier for developers to know who has written the code and also search the commit that has been made for particular files. We can see who made the code changes and at what time the changes have been made by the developers. This helps in understanding how the code has been changed over a period of time.
We can check the details of code authorship of the commits. This helps in understanding the project development of the application. Gitlens has a search functionality in which we can find the author of code repositories along with the commit message he entered for the specific commits.
In the example mentioned above, When we click on the text message it displays the author name who previously changed the code with a commit message.
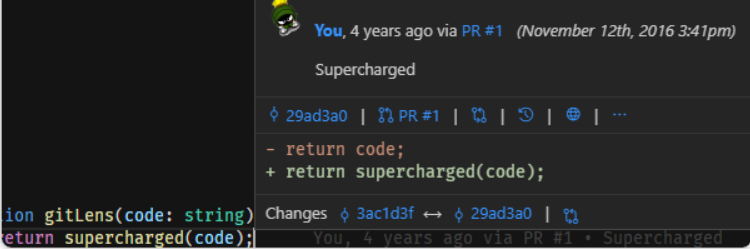
In the example mentioned above, when we hover over the lines we get detailed information such as author name, previous commit hash, and current commit hash. When we click on the current commit hash we get the overall file history with all commit messages.
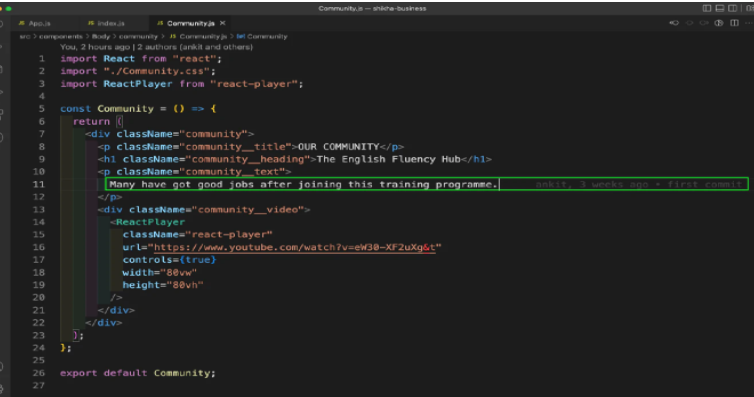
8. CodeSnap In VS Code
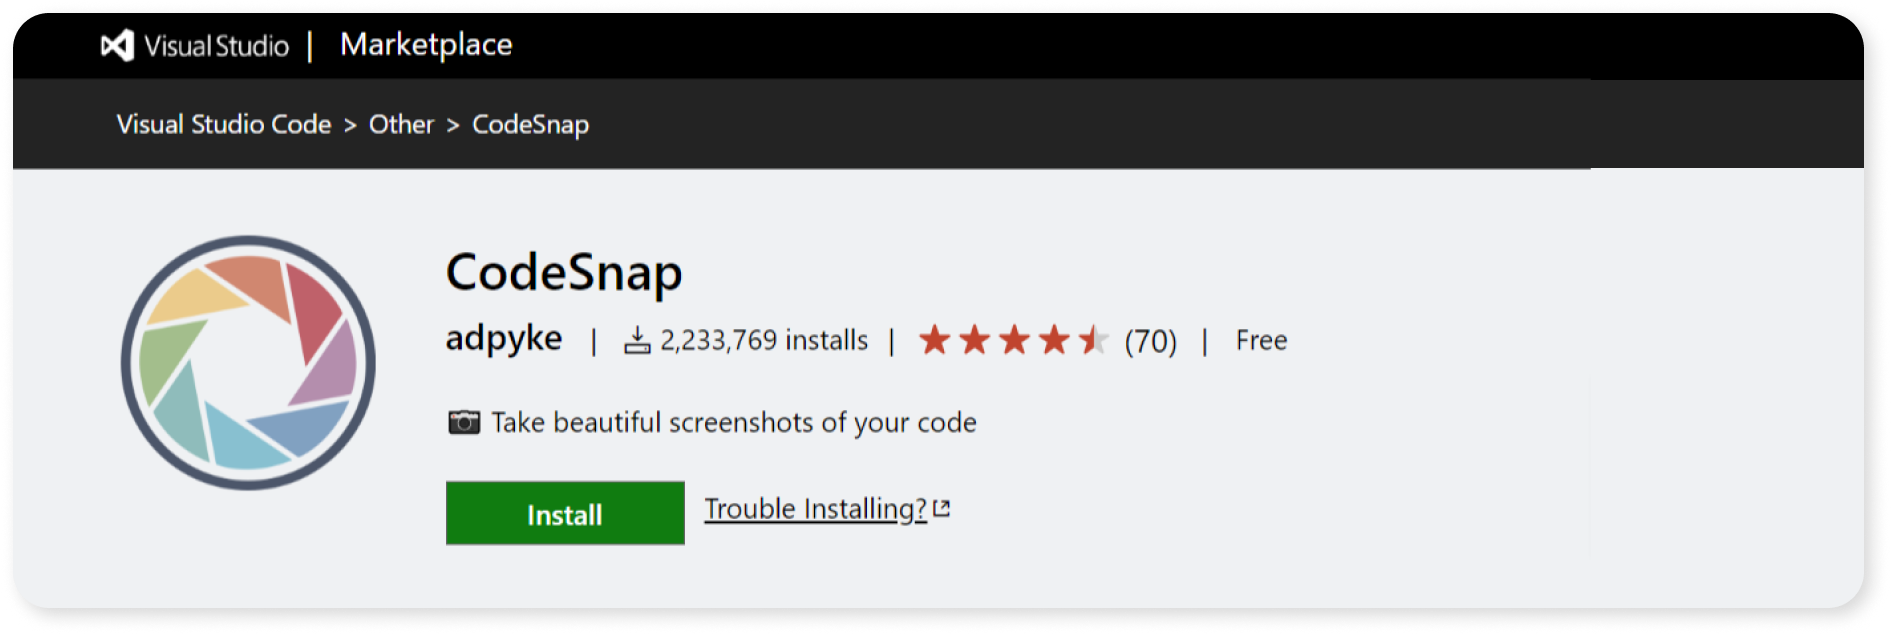
The usual way of capturing a screenshot is using the system’s default tools like the Snipping tool. But these tools capture the entire screen and the results look very bland. But no worries, another VS Code extension comes to the rescue, the “CodeSnap”.
“CodeSnap” is an extension that is perfect for sharing your code snippets on social media, in blogs, or for presentations.
To use this extension, install“CodeSnap” in VS Code,
Open the command palette (Ctrl+Shift+P on Windows and Linux, Cmd+Shift+P on Mac), and search for CodeSnap. Selecting “CodeSnap” in the Command Palette will bring a new pane on the right side of our code editor.
Now all we have to do is select the code snippet that we want to capture in our screenshot. The preview of our screenshot will appear in the right panel as we select the snippet. Once done click on the shutter button and our screenshot will be saved in the system.
This extension has a few more tricks up its sleeves. You can customize your screenshot by tweaking the settings in your IDE like changing the background color, adjusting the amount for box-shadow, etc.
We like the fact that you can choose what line number to include in the screenshot (start from 1 or use the actual line numbers from the code). This comes very handy while writing blogs or sharing the snippets with your colleagues. You can also disable the line numbers altogether if you want.
const blob = new Blob([combinedBuffer], {
      type: "application/vnd.apple.mpegurl",
    });
    const objectURL = URL.createObjectURL(blob);
    const videoElement = document.createElement("video");
    videoElement.src = objectURL;
    videoElement.addEventListener("loadeddata", () => {
      canvas.width = videoElement.videoWidth;
      canvas.height = videoElement.videoHeight;
const resetPassword = catchAsync(async (req, res) => {
await authService.resetPassword(req.query.token, req.body.password);
res.status(httpStatus.NO_CONTENT).send();
});Also capturing screenshots without a container or background color is possible.
9. Prettier in VS Code

Formatting your code consistently can be a challenge when working in a team. Code formatters like Prettier can help solve the issue. Every time you have to select code and format. This is time-consuming and also it needs more effort to select code and format.
There are keyboard shortcuts that you can use to format your code. Another way to achieve the same is by opening “settings”, inside settings search “format” and you'll notice that we have two sets of settings over here. The user settings are global for any project that you open inside Visual Studio Code. If you open it up it'll be using these settings.
However, they can be overridden with workspace settings. Workspace settings are specific to the project. Click on “user” and then on the “default” format. A dropdown will appear. Select Prettier because we've installed prettier and we'll have the prettier code formatter available to select.
Then scroll to the bottom and save. Also, enable the “format on save” and “format on paste” checkboxes. This will allow you to save your file automatically without explicitly using shortcuts for formatting.

With the help of the Prettier format, your code looks well aligned as in the above image. You can also set the default quotes for your code (double or single quotes).
10. Thunder Client
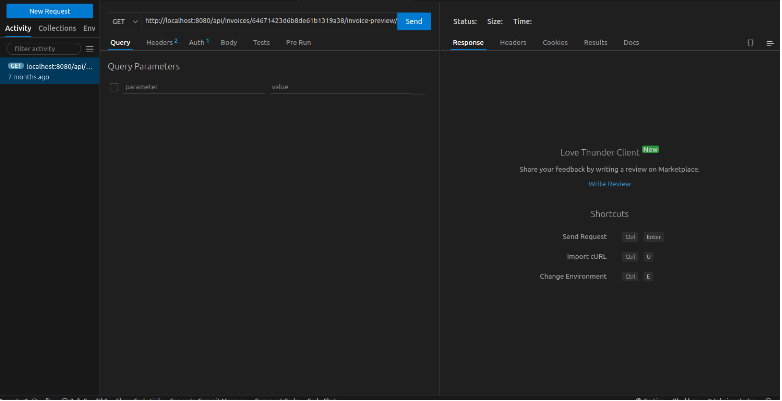
We used Postman for testing the APIs for years but without moving from the VS Code it is not possible to do Postman. When we use Thunder Client we can test our APIs directly from the VS Code only Thunder client is a lightweight extension of the Postman.
Thunder client is a full-featured API development environment for VS Code and while you can copy the results to your clipboard what I love the most is that you can also copy them directly into a new file and even generate the code needed to make this exact API call in a variety of languages and libraries thunder client is free and open source.
Concluductory Thoughts
These extensions will help in our daily life of coding, which makes our workflow of React easier. It serves as an important instrument for all developers to build complex applications. These extensions will help you have a clear format, clean code, and see changes in the code. These also make your structure of code comprehensible.
FAQ's

Related articles
AI Integration in React Applications: Building Intelligent UIs with TensorFlow.js and Brain.js