How to Dockerize Your React App Easily
Brief: Learn how to dockerize your ReactJS application for consistent development, seamless deployment, and better scalability. This guide covers everything from building Docker images and setting up Docker Compose to deploying on cloud platforms like AWS. Perfect for developers looking to simplify workflows with containerization.
Introduction
In modern web development, ReactJS and Docker are a powerful combination that simplifies application deployment. Docker makes it easy to dockerize a React app, ensuring consistent development environments across different systems. Whether you're working on a development environment or deploying a production-ready image, Docker helps in creating an isolated environment for your React application.
In this guide, we will explore how to dockerize a React app, create a Docker image, and deploy it using Docker Hub.
What is Docker?
Docker is a platform that allows developers to package applications into containers, which include all dependencies, configurations, and runtime environments. These Docker containers can run seamlessly on any system with Docker installed, eliminating compatibility issues.
Some key Docker concepts:
Docker Image
A Docker image is a lightweight, standalone, and immutable package that includes everything needed to run an application, such as the source code, runtime, libraries, dependencies, and configuration files. When building a React application with Docker, the image is often created using a Dockerfile.
Each line in the Dockerfile (like FROM, COPY, RUN, etc.) creates a new layer, and these layers are cached for faster builds and efficiency.
This layered architecture allows Docker to reuse unchanged layers in subsequent builds, reducing build time and optimizing storage. A well-structured image ensures your app can run consistently across environments, from development to production.
Docker Container
A Docker container is a running instance of a Docker image. Think of the image as the blueprint, and the container as the actual executable environment derived from it. When you run a React app using Docker, you launch a container that includes your application along with all its configurations.
Containers are isolated from the host machine and each other, meaning each React app runs in its secure environment. You can start, stop, restart, and remove containers independently, making deployment and testing highly flexible and efficient.
Container Port
A container port is the internal network port within the container that your application listens on. To allow access to the app from outside the container (like a browser or API client on your local machine), this port must be mapped to a host port using Docker’s -p option or a Docker Compose configuration.
For example, if your React app runs on port 3000 inside the container, you might map it to port 8080 on your host machine with -p 8080:3000. This mapping ensures users can access your app via http://localhost:8080, while it still operates internally on 3000.
Docker Hub
Docker Hub is a cloud-based container registry where developers can publish, share, and manage Docker images. It's like GitHub, but for containers. You can pull official base images like Node or Nginx from Docker Hub, or push your own custom-built React app images for sharing with teammates or deploying on servers.
To upload an image to Docker Hub, you typically log in using the docker login command, tag your image appropriately, and push it using docker push. This makes it easier to distribute and deploy your app across different environments and teams.
Docker Compose
Docker Compose is a powerful tool that allows you to define and manage multi-container applications using a docker-compose.yml file. For instance, if your React app depends on a backend API or a database like MongoDB, Docker Compose helps you spin up all these services together with a single command (docker-compose up).
Each service in the YAML file can be configured with its image, ports, environment variables, volumes, and more. Compose simplifies orchestration and ensures all containers work seamlessly together, which is especially useful in microservices or full-stack development environments.
Importance of using Docker for your application
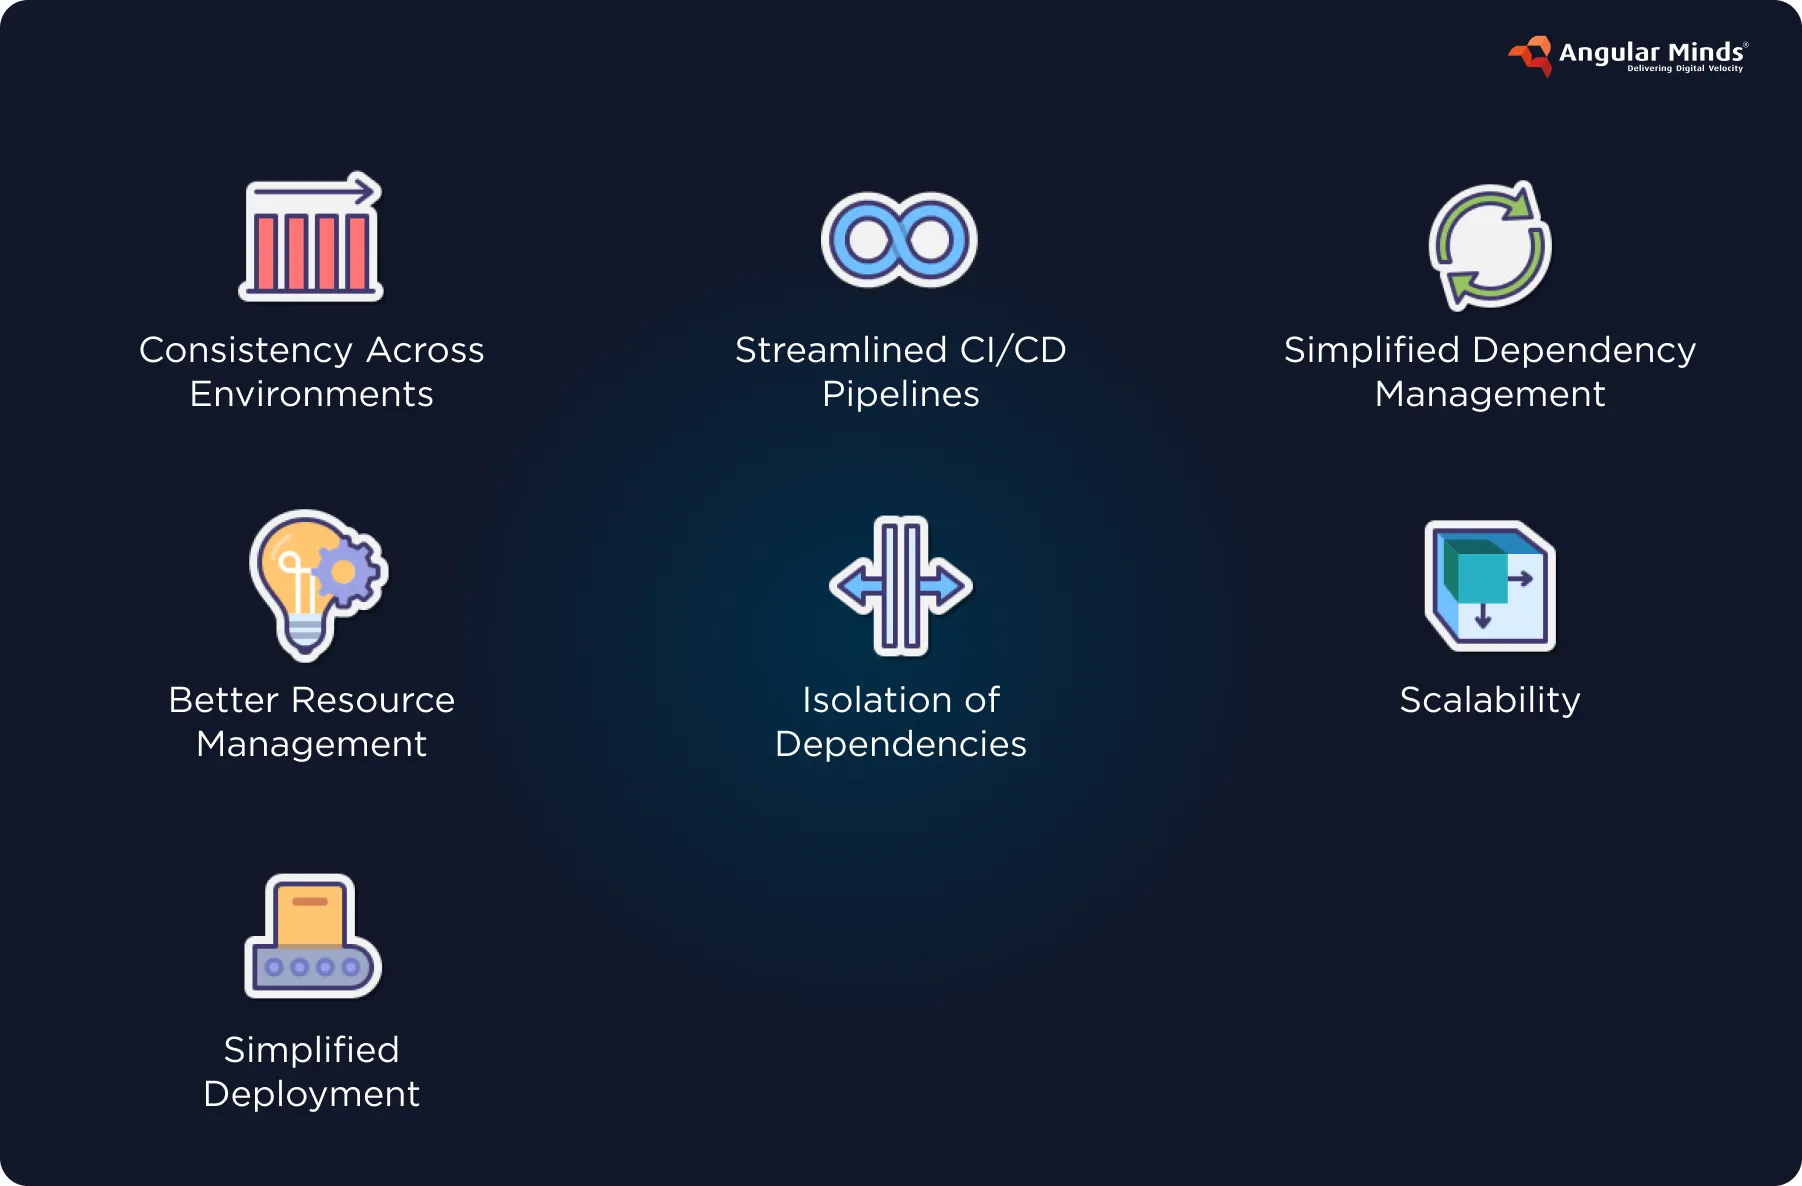
1. Consistency Across Environments
Docker ensures your app runs the same on every local machine by containerizing the full stack, including environment variables and dependencies. This eliminates the “works only on my machine” problem. Whether you're running it on a developer’s setup or in production, the Docker engine maintains a consistent environment.
2. Streamlined CI/CD Pipelines
Using Docker commands like docker login followed by docker run commands, you can automate the build and deploy processes. When you run the following command in your pipeline, it helps package your app cleanly for testing and deployment, especially for a production image. This makes your CI/CD pipelines more predictable and efficient.
3. Simplified Dependency Management
Docker encapsulates all your app’s libraries and configurations in a container. You can define these in a conf file and manage them as part of your codebase. This ensures all developers use the same build context, making collaboration easier.
4. Better Resource Management
Unlike traditional virtual machines, containers are lightweight and share the Docker engine on the host system. This means you can run multiple containers without overloading your system, making scaling and multitasking smoother, whether in testing or during a production build.
5. Isolation of Dependencies
Each container runs its instance with all dependencies, preventing conflicts. You can run different application cmd setups for various microservices side-by-side without interference. This isolated architecture improves debugging and multi-environment development.
6. Scalability
With simple Docker run commands, you can create multiple instances of your React app. Whether you’re scaling horizontally in the cloud or testing microservices locally, Docker allows flexibility and rapid scaling.
7. Simplified Deployment
Once you've created a production image of your React app using the command below, you can deploy it anywhere: on-premise, cloud, or across teams. For Windows users, Docker Desktop makes it seamless. Simply build a Docker image from your current directory, push it using docker login, enter credentials, and your app is ready for production.
From development to deployment, Angular Minds guarantees your React app is enterprise-ready. Partner with a React web development company that brings real-world Docker expertise to the table.
How to Dockerize an application?
Setting Up a ReactJS Application
To start, let's create a React project using Create React App:
npx create-react-app my-react-app
cd my-react-app
This sets up a React application inside the project's root directory. You can now run:
npm install
npm start
This starts the React app running inside the local development environment on port 3000.
Writing the Docker file for React app
A file named Docker file defines how to dockerize a React app. Create a Docker file in the root directory:
# Use Node.js as the base image
FROM node:18-alpine AS build

# Set the working directory
WORKDIR /app

# Copy all the files
COPY package*.json ./

# Install dependencies
RUN npm install

# Copy application code
COPY . .

# Build the React application
RUN npm run build

# Use an Nginx base image for serving static files
FROM nginx:stable-alpine
COPY --from=build /app/build /usr/share/nginx/html

# Expose container port
EXPOSE 80

# Start Nginx
CMD ["nginx", "-g", "daemon off;"]
Creating a Docker Ignore File
To exclude unnecessary files, create a .dockerignore file in the project root and add:
node_modules
build
.git
.dockerignore
.env
This ensures that unnecessary files are not copied into the Docker image, reducing its size and improving the build process.
Building and Running the Docker Container
Now, build the Docker image using the Docker build command:
docker build -t my-react-app .To run the Docker container, use:
docker run -p 3000:80 my-react-appThe -p flag maps the container port (80) to the host port (3000), allowing external access.
You can check all the running containers using:
docker psTo stop the container, use the Docker stop command:
docker stop <container_id>Using Docker Compose
To simplify container management, create a docker-compose.yml file:
version: "3"
services:
  react-app:
    build: .
    ports:
      - "3000:80"
    restart: always
Run the application in detached mode with:
docker-compose up -dTo stop it, use:
docker-compose downPushing the Image to Docker Hub
To deploy your app, push the image to Docker Hub:
Log in to your Docker Hub account:
docker loginTag the image with your Docker Hub username:
docker tag my-react-app docker-hub-username/my-react-appPush the image to the Docker registry:
docker push docker-hub-username/my-react-appNow, your Dockerized React app is available on Docker Hub and can be pulled on any machine with Docker installed.
Deploying the Dockerized React App
You can deploy the Docker React app to cloud services like:
AWS (Elastic Container Service - ECS)
Google Cloud Run
DigitalOcean App Platform
Example deployment on AWS:
aws ecs create-service --service-name my-react-app --image docker-hub-username/my-react-appThis allows you to dockerize React app running inside a Docker container to be accessible globally.
Conclusion
In this guide, we explored how to effectively dockerize a React app using ReactJS Docker. By following the outlined steps, you can create a Docker image, run your React application inside a Docker container, and deploy it seamlessly.
Key takeaways from this guide:
Consistent Development Environments – Using Docker make sures that your React project runs identically across all machines.
Simplified Deployment – Pushing the Docker image to Docker Hub allows easy sharing and deployment on any system with Docker installed.
Efficient Application Management – With Docker Compose, managing multi-container applications becomes more straightforward.
Scalability & Cloud Integration – A dockerized React app can be deployed effortlessly to cloud services, improving scalability and reliability.
By leveraging Docker, developers can optimize their development process, maintain isolated environments, and ensure their React app is production-ready. Start dockerizing your React applications today to experience the benefits of containerization!
FAQ's

Related articles
AI Integration in React Applications: Building Intelligent UIs with TensorFlow.js and Brain.js