Build a scalable learning management system in React
How do you pick that one dynamic idea and turn it into a full-fledged project, especially with deadlines looming?
When you're short on time and long on ambition, what you don't need is pressure but a clear path forward to achieve a seamless user experience.
Why does creativity often get buried under checklists and rules?
If you’ve been asking these questions about how to implement a learning management system, this roadmap is for you.
Let’s break down the creation of your project, step by step
Introduction to Learning Management Systems
What is LMS (Learning Management System)?
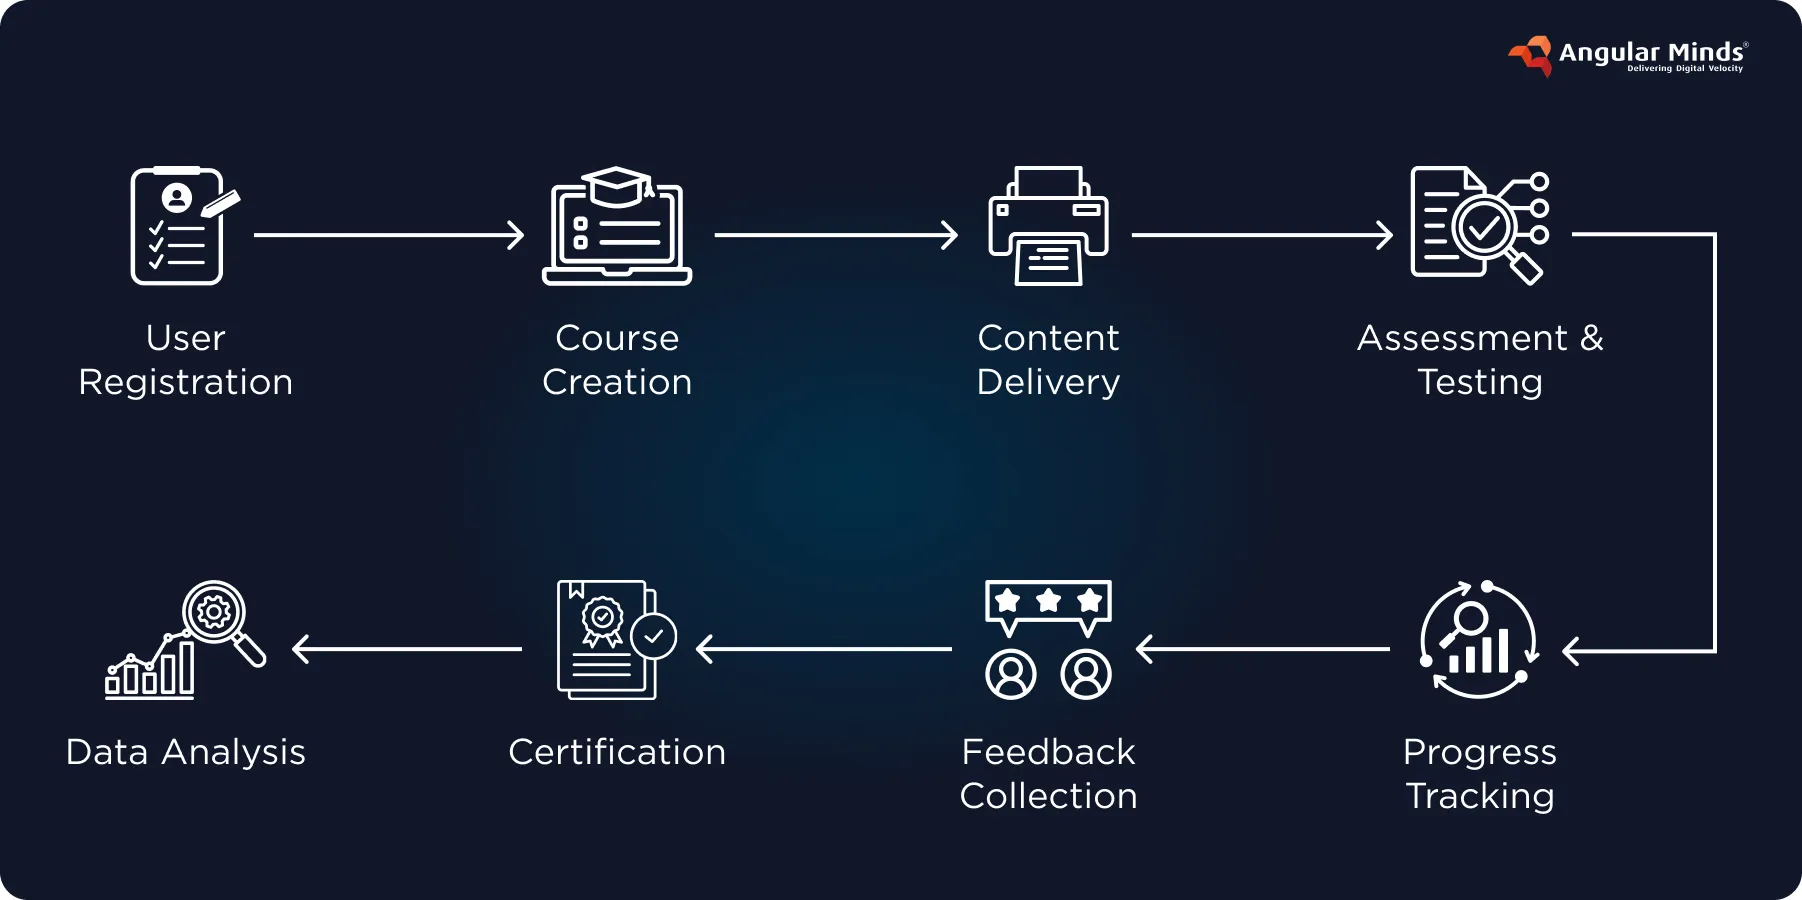
A Learning Management System (lms) is a software application designed to administer, document, track, report, and deliver educational courses, training programs, or learning and development programs, serving as a robust learning management system for both students and teachers.
Used extensively across various fields, the management system LMS's functionality streamlines learning for students and teachers by centralizing content, automating assessment, reporting, and analysis, thus evaluating improvement and catering to organizations with roles like learner, tutor, and admin, minimizing the need for manual inspection.
Learning Management Systems (LMS) are essential for modern education, whether you're teaching a small group or running a full-scale online platform. User roles such as admin, instructor, and student provide an overview of the critical part of the architecture of the learning management system (LMS). Building a feature-rich LMS typically involves defining a structured API and utilizing a database for content storage, user management, and additional functionality.
Key Features of a standard LMS (Learning Management System):
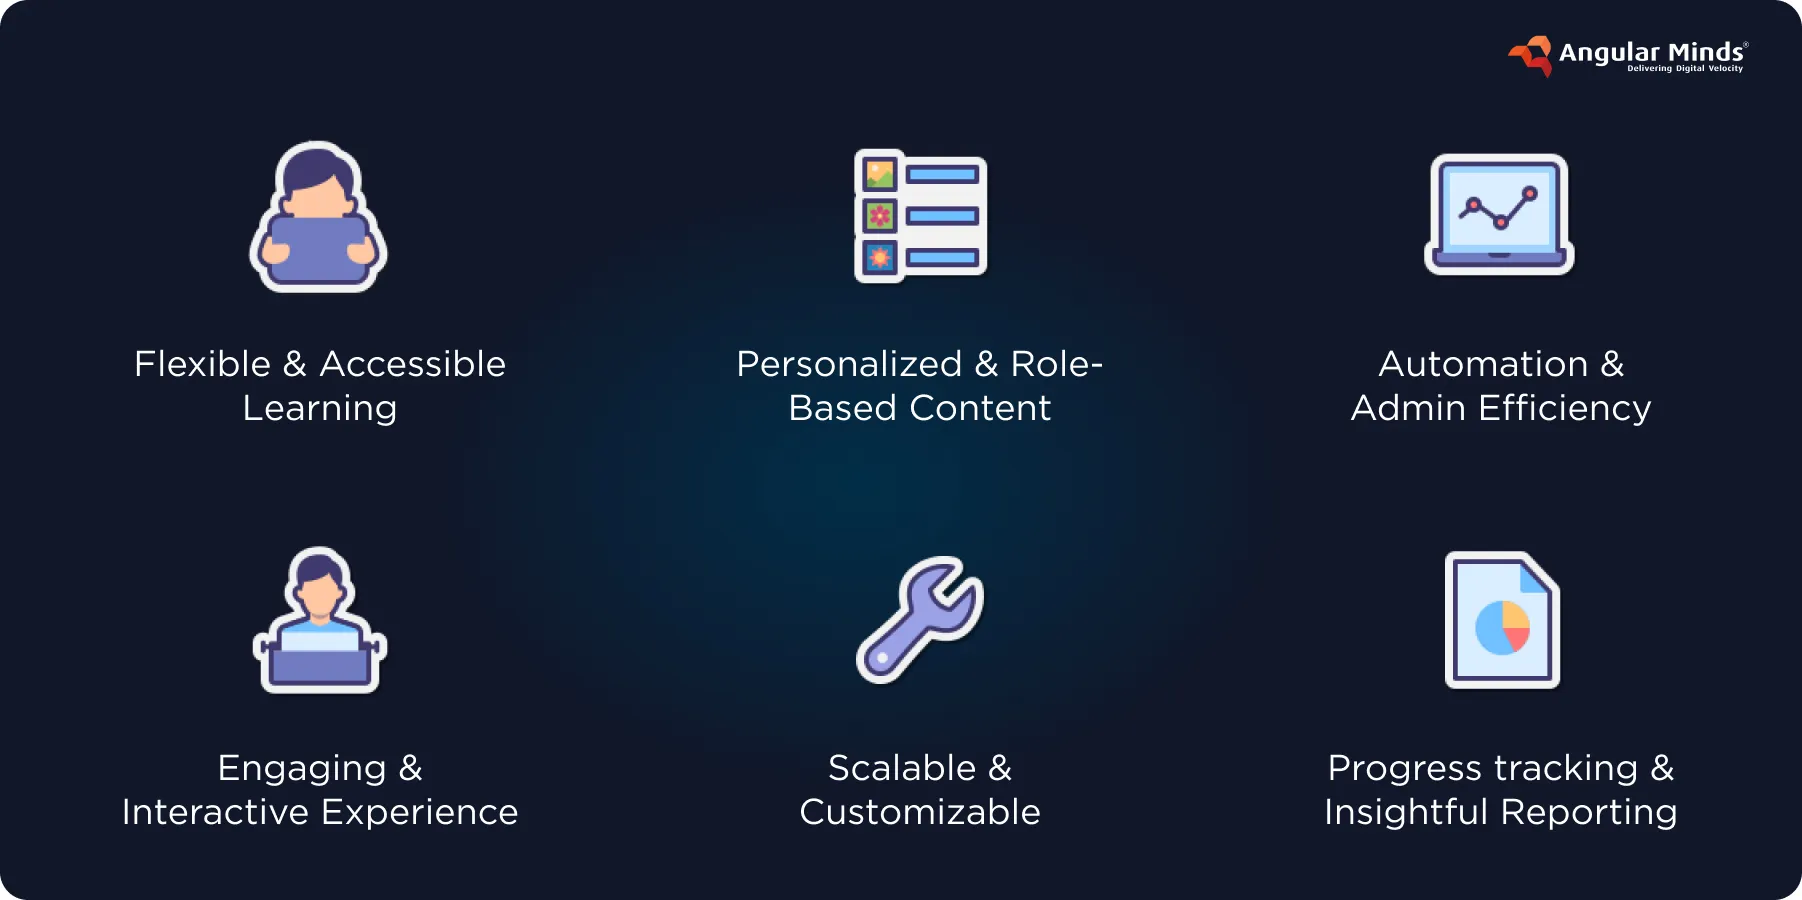
A) Flexible & Accessible Learning
Learn anytime, anywhere at your own pace, from any device, ensuring a dynamic learning experience that includes video content.
B) Personalized & Role-Based Content
Delivers tailored learning paths based on roles, skills, or goals.
C) Automation & Admin Efficiency
Automates enrollment, grading, reminders, and certification tracking, allowing the system to automatically generate reports on student performance. You can enhance your LMS with custom code to introduce features like quizzes, AI-based recommendations, or automated grading.
D) Engaging & Interactive Experience
Supports gamification, quizzes, videos, and mobile learning on the go. Integrated progress tracking allows learners to monitor their completed modules, pending tasks, and grades over time as part of the management system. You can import existing content or export reports in Excel or PDF for institutional records.
E) Scalable & Customizable
Grows with your organization and adapts to different learning needs, providing a comprehensive summary of available courses.
F) Progress tracking & Insightful Reporting
Provides an overview, tracks progress, boosts performance, and reduces training overhead. The LMS app includes a dashboard for real-time progress tracking and performance analytics.
Choosing the Right Technology Stack for LMS Development
Modular and Reusable UI: React's component system and its use of JavaScript allow you to build self-contained UI elements that can be used across your LMS, making development faster and more consistent.
Smooth User Experience (SPA): React creates single-page applications leading to a more fluid and engaging learning experience. React can be used to build 100% custom front ends for applications.
State Management (Redux, Zustand): Helps manage complex data within the LMS (e.g., user progress).
Data Fetching (React Query): Efficiently handles getting and managing data.
Styling (Tailwind CSS): Provides a quick and consistent way to style the UI.
SEO-Friendly Solutions (Next.js): While SPAs can have SEO challenges, Next.js offers server-side rendering to make your LMS content, built with JavaScript, more discoverable by search engines.
Flexible Backend Integration (Headless): React can connect to various backend systems (like Strapi or Firebase) via APIs.
Getting started with building an LMS in React
Building any system in React requires you to plan the development with a clear logic in a procedural manner. While it is important to plan the project, it is also important to remember that small processes come together to develop a full-fledged working application. Additionally, being aware of common mistakes to avoid when using React can enhance both efficiency and application performance.
Core Modules of a Learning Management System using React-
Authentication Module
Role-based access control
The initial setup of the LMS React app includes configuring routes, authentication, and state management. Integrate OAuth to connect with platforms like Google or Microsoft for quick and secure access.
Frontend Interface
The frontend is built using React, providing a smooth, single-page experience for all user types.
Conditional Rendering: Show/hide UI based on user roles using state.
UI Libraries: Utilize Material UI, Tailwind, etc., for pre-built components and styling.
Course Management System
Form builders: Provide intuitive interfaces for creating and editing course details, settings, and content fields.
Drag-and-drop components: Enable instructors to visually arrange and order course content (lessons, modules, resources) within the course structure.
Rich Text Editors: Allow instructors to create and format detailed textual content for lessons and descriptions with WYSIWYG controls.
Content Distribution
Embed: Use libraries like react-player for videos, react-pdf for documents. Admins have access to tools that allow them to upload new learning materials, assignments, and video lectures.
Interactive: Build custom quiz/flashcard components. React's component model makes the LMS highly dynamic, responding to user input in real-time.
Learning Analytics Engine
Charts: Fetch data and visualize with Recharts, Chart.js.
State Management: Manage user learning data with Redux/Zustand.
Engagement & Assessment Engine
Badges: Create badge components, manage assignments in the backend.
Points: Track user points in backend, update UI. The backend logs every user activity, making it easy to log interactions for audit or progress review.
Grading: Build UI for grading setup and submission review.
Alerting Service
Real-time: Use Socket.IO, Firebase, or Pusher for live notifications. React's component model makes the LMS highly dynamic, responding to user input in real-time.
Notifications: Create UI components to display alerts.
Reminders: Build UI for setting reminders, and handle scheduling in the backend.
Building the Backend and API for LMS
Backend Choice: Prioritize Node.js (with Express/NestJS) for JavaScript familiarity and real-time capabilities, or consider Serverless Node.js for scalability and reduced overhead.
API Design: Opt for a RESTful API with JSON for seamless data exchange with React, or consider GraphQL for more efficient data fetching in complex applications.
Authentication & Authorization: Implement secure JWT-based authentication and Role-Based Access Control (RBAC) on the backend to protect resources and ensure data security.
Endpoints: Design clear, resource-based API endpoints for managing users, courses, content, enrollments, progress, assessments, notifications, etc.
Data Handling: Implement robust validation and sanitization of data on the backend. Consider pagination and filtering for efficient handling of large datasets.
Error Handling: Return informative HTTP status codes and error messages to the React frontend.
Database: Choose a database that suits your data needs and backend (e.g., PostgreSQL, MongoDB with Node.js, or Firestore with Firebase).
Real-time Features: For notifications and messaging, consider WebSockets (with Node.js) or Firebase Realtime Database/Cloud Firestore.
Deploying and Maintaining the LMS System
Frontend: Deploy on Netlify/Vercel (CDN built-in for scaling) or AWS S3/CloudFront (scalable hosting).
Backend: For larger apps, containerize it using Docker and deploy on Kubernetes (like AWS EKS, Google GKE, or Azure AKS). This setup supports load balancing and automatic scaling.
Database: Use scalable services like AWS RDS or Google Cloud SQL. For large applications, you can improve performance with read replicas, caching (using Redis or Memcached), and even data splitting (sharding) when needed.
Real World example - React Learning Management System
Implement a learning management system by defining needs, choosing a system, planning the process, setting up infrastructure, and establishing the setup customizing the platform, uploading content, adding features managing users, testing thoroughly, training users, launching and monitoring, and continuously evaluating and improving. Seems to be a never ending list right?
Well! While you're channeling all your energy into architecting your learning management system and focusing on integration, let us provide you with a template for a structured brainstorming example to help you navigate the entire development process effectively.
The LMS app enables students to view course content, submit assignments, and track their progress all in one place.
Now consider this a guided thought exercise to spark your comprehensive planning.
Project Folder Structure
/lms-app
│
├── src
│   ├── components
│   │   ├── Login.js
│   │   ├── Dashboards.js
│   │   ├── CourseList.js
│   │   └── CourseForm.js
│   ├── App.js
│   ├── index.js
│   └── App.css
│
├── public
│   └── index.html
│
├── package.json
└── README.md
index.js
import React from 'react';
import ReactDOM from 'react-dom/client';
import App from './App';
import './App.css';

const root = ReactDOM.createRoot(document.getElementById('root'));
root.render(<App />);
App.js
import React, { useState } from 'react';
import Login from './components/Login';
import { AdminDashboard, StudentDashboard } from './components/Dashboards';
import CourseList from './components/CourseList';
import CourseForm from './components/CourseForm';
function App() {
const [user, setUser] = useState(null);
const [courses, setCourses] = useState([
{ id: 1, title: 'React Basics' },
{ id: 2, title: 'Node.js 101' },
]);
const handleAddCourse = (course) => {
setCourses([...courses, course]);
};
if (!user) return <Login onLogin={setUser} />;
const isAdmin = user.role === 'admin';
return (
<div className="app">
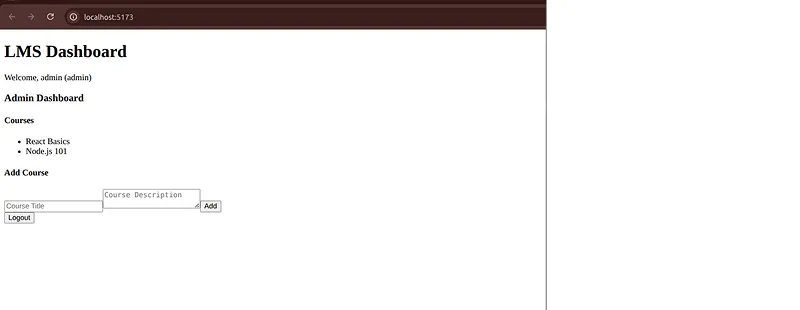
<h1>LMS Dashboard</h1>
<p>Welcome, {user.username} ({user.role})</p>
{isAdmin ? <AdminDashboard /> : <StudentDashboard />}
<CourseList courses={courses} />
{isAdmin && <CourseForm onAdd={handleAddCourse} />}
<button onClick={() => setUser(null)}>Logout</button>
</div>
);
}
export default App;
Login.js
import React, { useState } from 'react';
function Login({ onLogin }) {
const [username, setUsername] = useState('');
const [password, setPassword] = useState('');
const handleLogin = () => {
if (username === 'admin' && password === 'admin') {
onLogin({ username, role: 'admin' });
} else if (username === 'student' && password === 'pass') {
onLogin({ username, role: 'student' });
} else {
alert('Invalid credentials');
}
};
return (
<div>
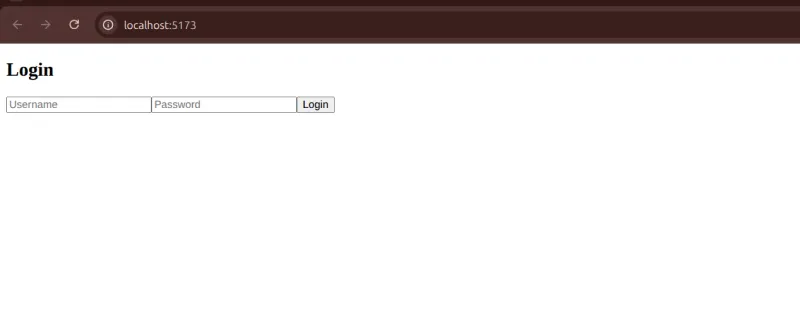
<h2>Login</h2>
<input value={username} onChange={(e) => setUsername(e.target.value)} placeholder="Username" />
<input type="password" value={password} onChange={(e) => setPassword(e.target.value)} placeholder="Password" />
<button onClick={handleLogin}>Login</button>
</div>
);
}
export default Login;Output :
Dashboard.js
import React from 'react';

export function AdminDashboard() {
  return <h3>Admin Dashboard</h3>;
}

export function StudentDashboard() {
  return <h3>Student Dashboard</h3>;
}
Output :
CourseList.js
import React from 'react';

function CourseList({ courses }) {
  return (
    <div>
      <h4>Courses</h4>
      <ul>
        {courses.map(course => (
          <li key={course.id}>{course.title}</li>
        ))}
      </ul>
    </div>
  );
}

export default CourseList;
CourseForm.js
import React, { useState } from 'react';

function CourseForm({ onAdd }) {
  const [title, setTitle] = useState('');
  const [desc, setDesc] = useState('');

  const handleSubmit = () => {
    if (title && desc) {
      onAdd({ id: Date.now(), title, description: desc });
      setTitle('');
      setDesc('');
    }
  };

  return (
    <div>
      <h4>Add Course</h4>
      <input value={title} onChange={(e) => setTitle(e.target.value)} placeholder="Course Title" />
      <textarea value={desc} onChange={(e) => setDesc(e.target.value)} placeholder="Course Description" />
      <button onClick={handleSubmit}>Add</button>
    </div>
  );
}

export default CourseForm;
App.css
.app {
  padding: 20px;
  font-family: Arial, sans-serif;
  max-width: 600px;
  margin: auto;
}

input, textarea {
  display: block;
  width: 100%;
  margin-bottom: 10px;
  padding: 8px;
}

button {
  padding: 8px 12px;
  margin-top: 5px;
}
Explanation of this Basic Example:
Login Component (Authentication): A simple login form that checks against hardcoded credentials. In a real application, this would interact with your backend API.
AdminDashboard and StudentDashboard (Frontend Interface & Role-Based Access): Basic components that are conditionally rendered based on the user.role in the App component's state.
CourseList (Frontend Interface): Displays a hardcoded list of courses. In a real application, this data would come from your backend.
CourseForm (Course Management System): A basic form to add a new course. The onCourseAdd function updates the local course state. In a real application, this would send data to your backend.
App Component (Core Logic):
Manages the user state to track the logged-in user and their role.
Manages the course's state (very basic in-memory storage).
Demonstrates conditional rendering to show different dashboards based on the user's role.
Includes basic components for course listing and a simple course creation form (accessible only to admins in this example).
The remaining modules (Content Distribution, Learning Analytics Engine, Engagement & Assessment Engine, Alerting Service) are mentioned in comments but lack UI implementation in this extremely basic example to keep it concise. They would require additional components, state management, and likely integration with backend APIs and external libraries.
In case you find it difficult to develop one such application, you may consider Angular Mind's top full-stack React developers.
To Run This Basic Example:
Create a new React project (if you haven't already):
Bash
npx create-react-app basic-lms
cd basic-lms
Replace the contents of src/App.js with the code above.
Create an empty src/App.css file (or add some basic styling).
Start the development server:
Bash
npm start
Conclusion and future development:
Still doubtful on how will you package and serve your React build in a single instance? Will your database be able to handle more users and ensure fast loading time for all of them? Wish you had someone experienced around you to help you create a scalable solution?
Building a robust project application overview for a large audience demands meticulous deployment, fortified security, and captivating interfaces. Navigating these complexities can be challenging, but GOOD NEWS!! With our template, you don't have to do it alone.
At Angular Minds, our expert developers are passionate about crafting scalable, secure, and user-friendly solutions with innovative features, incorporating custom code tailored to your needs. Don't hesitate to reach out as we're eager to help you achieve your vision and excel in the digital space.

Related articles
AI Integration in React Applications: Building Intelligent UIs with TensorFlow.js and Brain.js