How to Use Query Params in Angular
Brief:
When building modern web apps, smooth navigation matters. Angular helps by using query parameters and route parameters to pass information between components without making things messy. In this guide, we’ll break down how these features work, why they’re useful, and how to use them effectively in real-world scenarios.
Understanding Routing in Angular
Routing is what lets users move between different parts of your app without reloading the page. In Angular, it’s handled in a structured way that keeps your code organized and your user experience smooth. Whether you're linking to a product page, filtering a list, or loading dynamic content, Angular gives you the tools to manage routes efficiently with route parameters, query parameters, and nested paths.
What Are Query Params in Angular?
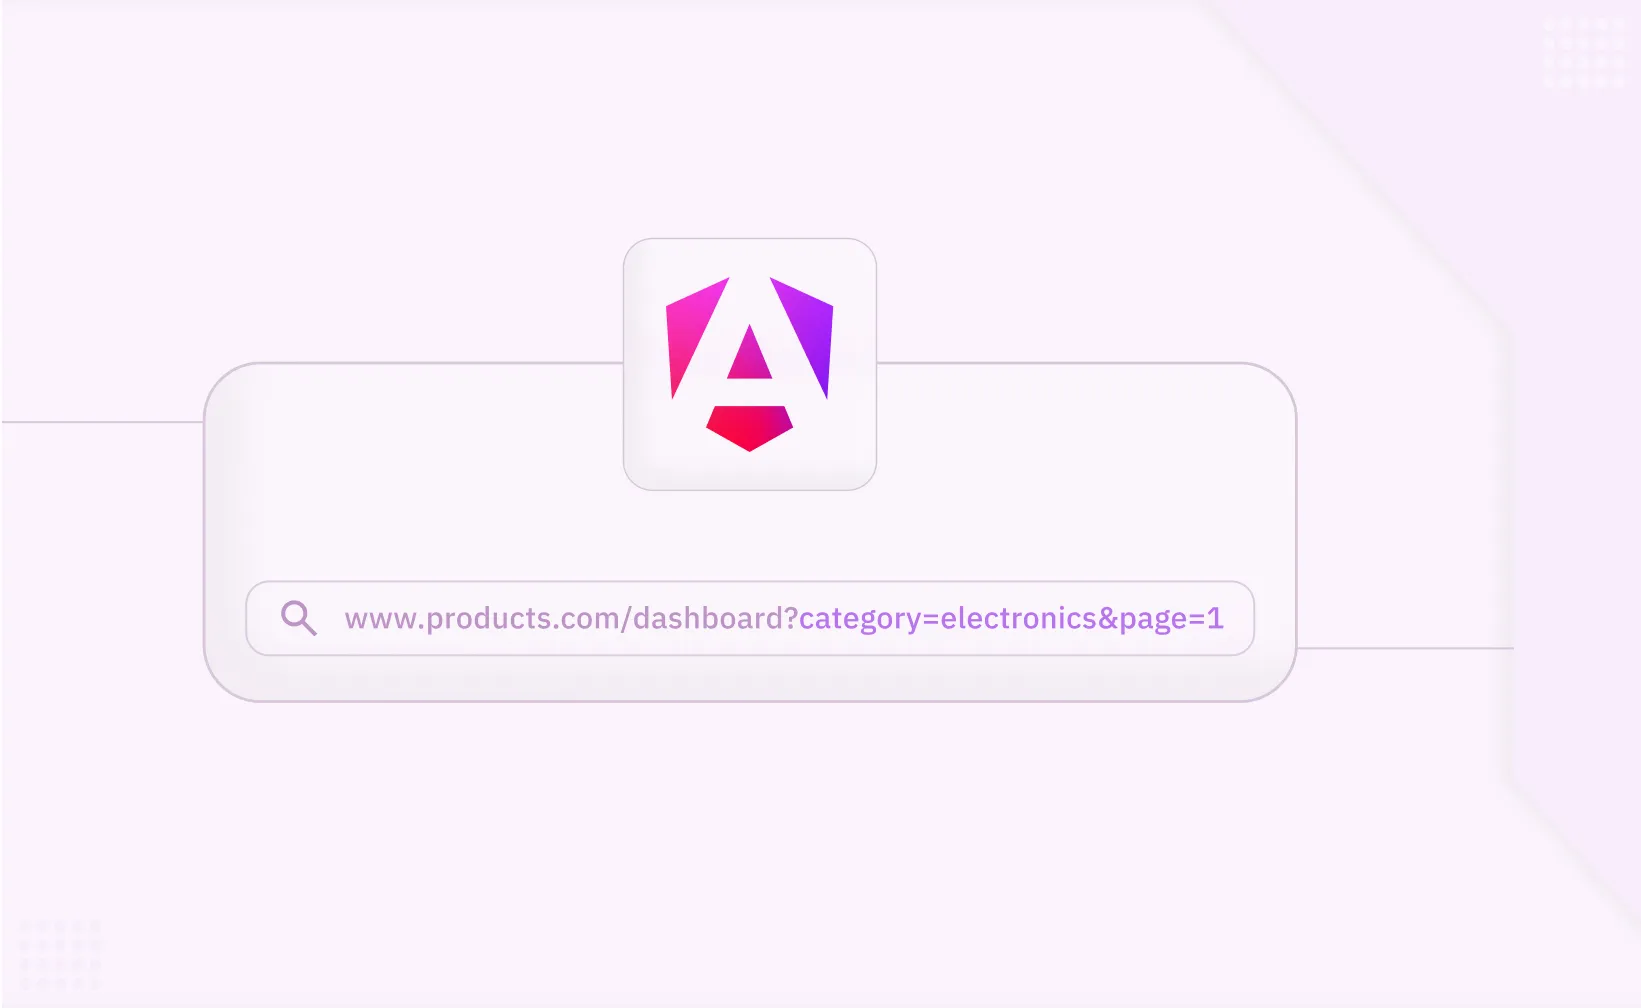
Query params in Angular are key-value pairs appended to the url path after a ? symbol. They allow passing optional parameters to a route without altering the main structure of the application routes.
For example:
/products?category=electronics&page=1Difference Between Route Parameters and Query Parameters
Route parameters: Part of the URL path, used for required data like a product id.
Example: /products/:id.
Query parameters: Optional data, often used for filtering or pagination.
Example: /products?category=clothing.
Both are vital in Angular for implementing flexible navigation in complex applications.
Working with Params in Angular
Setting Up Angular Routing
To define routes, include them in the routing module using export const routes. Here's an example:
import { Routes } from '@angular/router';
import { ProductComponent } from './product.component';

export const routes: Routes = [
  { path: 'products/:id', component: ProductComponent },
  { path: '', redirectTo: '/products', pathMatch: 'full' }
];
Reading Query Params Using Activated Route Service
Angular uses the ActivatedRoute service to access query parameters and route data associated with the currently activated route.
Here’s a code snippet:
import { ActivatedRoute } from '@angular/router';
import { Component, OnInit } from '@angular/core';

@Component({
selector: 'app-product',
templateUrl: './product.component.html'
})
export class ProductComponent implements OnInit {
constructor(private route: ActivatedRoute) {}
ngOnInit() {
this.route.queryParams.subscribe(params => {
console.log(params['category'], params['page']);
});
}
}
Passing Query Parameters with Router Navigate Method
Use the navigate method in the router service to pass parameters programmatically:
import { Router } from '@angular/router';

constructor(private router: Router) {}

navigateToCategory() {
  this.router.navigate(['/products'], {
    queryParams: { category: 'electronics', page: 1 }
  });
}
Working with Route Parameters
Route parameters like the id route parameter are defined in the url path. Access them using the ActivatedRoute service:
ngOnInit() {
this.route.paramMap.subscribe(paramMap => {
const id = paramMap.get('id');
console.log('Product ID:', id);
});
}
Combining Route and Query Parameters
Angular allows combining route params with query params for greater flexibility:
this.router.navigate(['/products', 1], { queryParams: { ref: 'email' } }); Understanding Matrix Parameters
Matrix parameters provide another way to pass data in Angular:
/products;category=electronics;page=2 To use matrix parameters, update the routing module and component template to handle them.
Using RouterLink Directive for Navigation
The router link directive simplifies navigation from the HTML file:
< a [routerLink]="['/products']" [queryParams]="{ category: 'books' }">Books< /a>Enhancing routing with advanced technologies
Lazy Loading and Application Performance
Lazy loading improves performance by loading only the required modules when the user navigates to a specific route. Update the app root module to include lazy loading for child routes:
const routes: Routes = [
  {
    path: 'products',
    loadChildren: () => import('./product/product.module').then(m => m.ProductModule)
  }
];
Navigating Between Components
When the router navigates to the loaded component, use the params object to fetch and display product detail data. For example, a product details page:
< div *ngIf="product">
< h1>{{ product.name }}< /h1>
< p>{{ product.description }}< /p>
< /div>
Updating Parameters Dynamically
Angular supports dynamic updates of query parameters:
this.router.navigate([], {
  relativeTo: this.route,
  queryParams: { sort: 'price' },
  queryParamsHandling: 'merge'
});
Creating a New Route with Angular CLI
Run the following command to generate a new component:
ng generate component Product Then add the route to the routing module:
export const routes: Routes = [
  { path: 'product-details/:id', component: ProductDetailsComponent }
];
Working with Nested Routes
Child routes are useful for creating hierarchical navigation structures within a parent route:
const routes: Routes = [
{
path: 'products',
component: ProductComponent,
children: [
{ path: ':id', component: ProductDetailsComponent }
]
}
];
Preserving Browser History
When the user navigates between routes, the browser history is updated. Angular’s router ensures seamless back-and-forth navigation.
Advantages of ParamMap Observable
The parammap observable offers a cleaner approach to reading parameters within the same component, compared to directly accessing the params object. It ensures reactive updates whenever parameters change.
Reusable Routing Modules
Organize routes in a dedicated file and export them:
export const AppConfig = {
  routes: [
    { path: '', component: HomeComponent },
    { path: 'about', component: AboutComponent }
  ]
};
Angular Basics for Query Params
Understanding angular basics like the current route, route url, activatedroute service, and router outlet is crucial for working with routing effectively.
Adding Parameters Dynamically
Angular makes it easy to add parameters dynamically to any route, offering flexibility for complex application routes.
Implementing Private Routes
Protecting Routes in Angular Using Route Guards
Step 1: Generate a Route Guard
Use the Angular CLI to create a new route guard:
ng generate guard authThis command will generate a file called auth.guard.ts.
Step 2: Implement the AuthGuard Logic
Edit the generated auth.guard.ts file to implement the logic that checks if a user is authenticated:
// auth.guard.ts
import { Injectable } from '@angular/core';
import {
  CanActivate,
  ActivatedRouteSnapshot,
  RouterStateSnapshot,
  UrlTree,
  Router
} from '@angular/router';
import { Observable } from 'rxjs';
import { AuthService } from './auth.service'; // Service to check authentication status

@Injectable({
  providedIn: 'root'
})
export class AuthGuard implements CanActivate {
  constructor(private authService: AuthService, private router: Router) {}

  canActivate(
    next: ActivatedRouteSnapshot,
    state: RouterStateSnapshot
  ):
    | Observable<boolean | UrlTree>
    | Promise<boolean | UrlTree>
    | boolean
    | UrlTree {
    const isAuthenticated = this.authService.isAuthenticated();

    if (!isAuthenticated) {
      this.router.navigate(['/login']);
      return false;
    }
    return true;
  }
}
In this guard, the AuthService is used to check if the user is authenticated. If not, the user is redirected to the /login page.
Step 3: Apply the Guard to Routes
Use the guard in your route configuration to protect specific routes. For example:
// app-routing.module.ts
import { NgModule } from '@angular/core';
import { RouterModule, Routes } from '@angular/router';
import { ProductComponent } from './product.component';
import { AuthGuard } from './auth.guard';

const routes: Routes = [
  {
    path: 'products/:id',
    component: ProductComponent,
    canActivate: [AuthGuard]
  },
  {
    path: '',
    redirectTo: '/products/1', // Set a default product or landing route
    pathMatch: 'full'
  }
];

@NgModule({
  imports: [RouterModule.forRoot(routes)],
  exports: [RouterModule]
})
export class AppRoutingModule {}
By adding canActivate: [AuthGuard] to the route definition, you ensure that only authenticated users can access the ProductComponent.
Routing Best Practices
Effective routing is crucial for building scalable, maintainable, and high-performing Angular applications. Below are some key best practices to follow when working with Angular's routing system:
1. Organize Routes Logically
Group related routes together and use nested routes for hierarchical navigation. This makes the routing structure easier to understand and maintain.
const routes: Routes = [
  {
    path: 'products',
    component: ProductComponent,
    children: [
      { path: ':id', component: ProductDetailsComponent }
    ]
  }
];
2. Use Lazy Loading
Improve application performance by loading feature modules only when needed. This reduces the initial load time and enhances the user experience.
const routes: Routes = [
  {
    path: 'products',
    loadChildren: () =>
      import('./product/product.module').then(m => m.ProductModule)
  }
];
3. Handle Query Parameters and Route Parameters Efficiently
Use the ActivatedRoute service to access query and route parameters. This ensures that your components can react to changes in the URL.
export const AppConfig = {
  routes: [
    { path: '', component: HomeComponent },
    { path: 'about', component: AboutComponent }
  ]
};
4. Keep Routes DRY (Don’t Repeat Yourself)
Avoid duplicating route definitions. Use reusable routing modules to keep your route configurations clean and maintainable.
export const AppConfig = { routes: [ { path: '', component: HomeComponent }, { path: 'about', component: AboutComponent } ] };5. Ensure Accessibility
Make sure that all routes are accessible and provide meaningful feedback to users. For example, handle 404 errors gracefully by redirecting to a custom error page.
const routes: Routes = [
  { path: '404', component: NotFoundComponent },
  { path: '**', redirectTo: '/404' }
];
By following these best practices, you can create a robust and user-friendly routing system in your Angular applications.
Conclusion
Angular’s routing system goes beyond simple page navigation—it’s a flexible, powerful tool for passing data, controlling access, and improving user experience. Understanding how to work with query parameters, route parameters, lazy loading, and guards allows you to build scalable and secure applications that behave exactly how your users expect. By mastering these routing techniques, you unlock the ability to create truly dynamic and responsive web applications.
Frequently Asked Questions (FAQ)
Related to Query Params in Angular

Related articles