Concepts of Dependency Injection in Angular
There are multiple elements to build a complex angular application like a social media platform. You have components for login, posts, user profiles, and more. Each component interacts with services for authentication, data fetching, and user management. How do you ensure these components work together seamlessly without creating a tangled mess of the entire application?
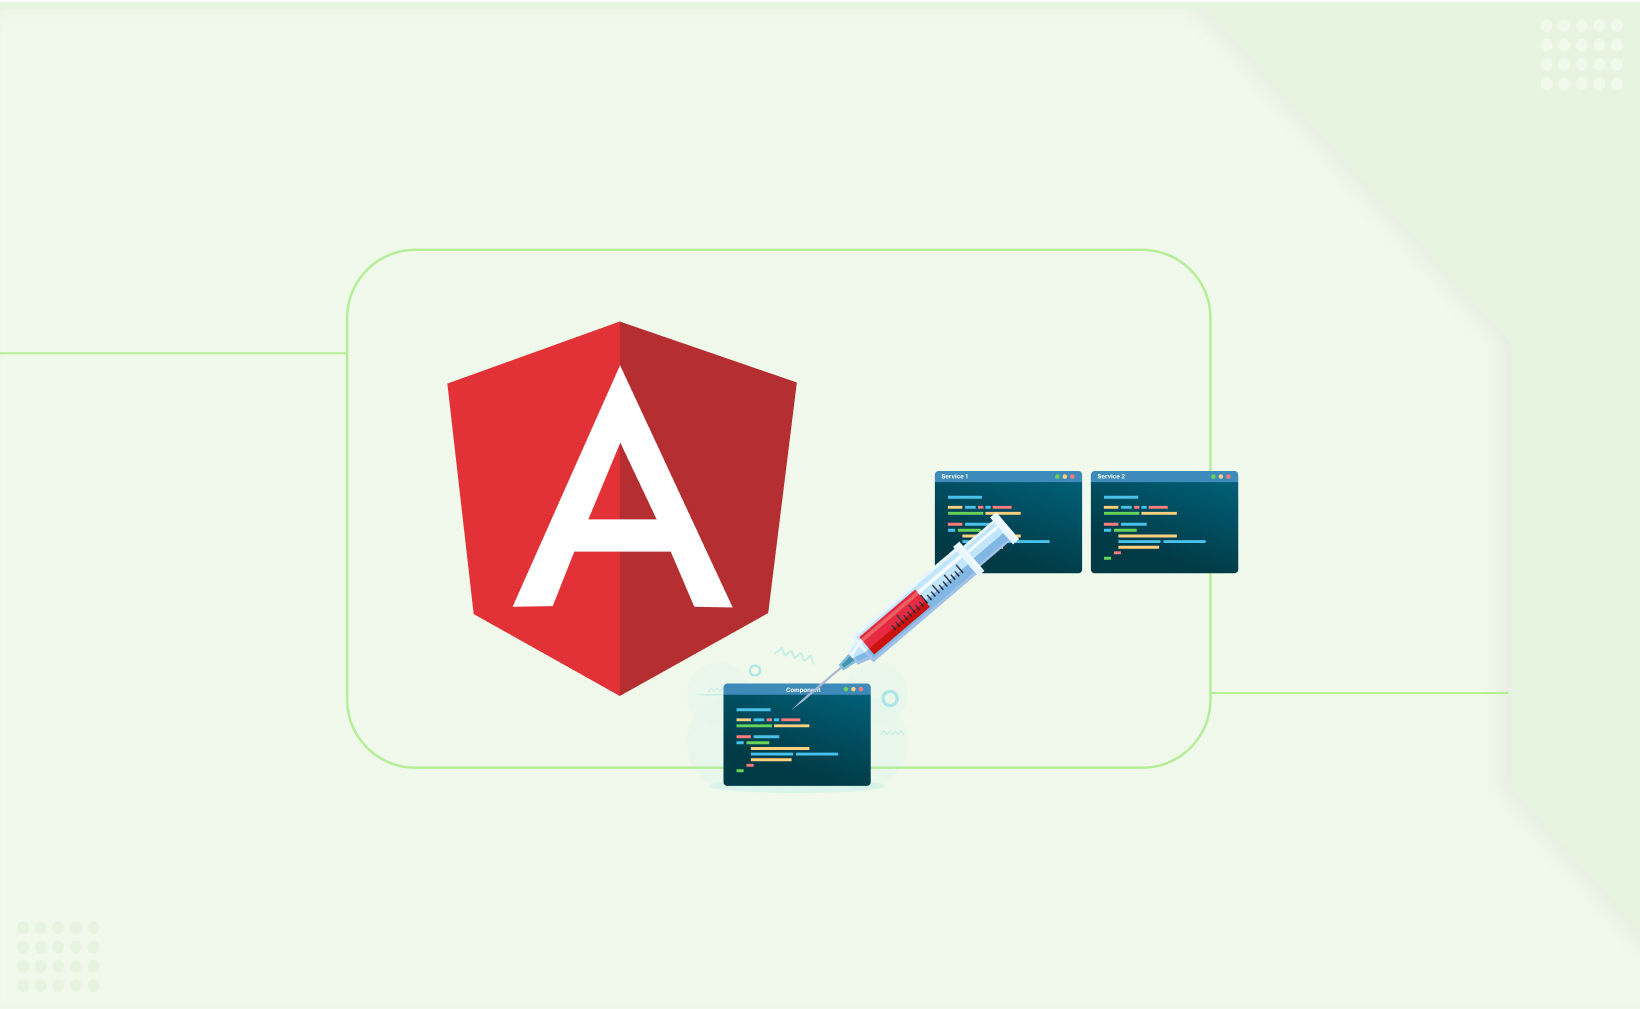
Enter dependency injection (DI), a core concept in Angular that injects the dependencies a component needs to function. It's like having a personal assistant for your components, delivering the exact services they require at the right moment.
Here are the key concepts of dependency injection (DI) in Angular
-
Dependencies : These are services or other resources a component needs to function.
-
Constructor Injection: The most common approach, where dependencies are listed in the component's constructor as arguments.
-
Injector: A system responsible for creating and providing service instances to components. Angular has a hierarchical injector system with a root injector at the top.
-
Providers: Configuration that tells Angular how to create service instances. Providers can be set at different levels (application-wide, component-level) to control how many instances are created (singleton vs. per component).
-
Sharing vs. Isolation: By default, child components get the same service instance as their parent. Providers allow you to control this behavior and create new instances if needed.
Here's a quick example of dependency injection in Angular
Weather Service
TypeScript
export class WeatherService {
  getTemperature(city: string) {
    // Simulate fetching weather data
    return Math.random() * 100;
  }
}
Weather Display Component
TypeScript
import { Component } from '@angular/core';
import { WeatherService }  from './weather.service'; // Import the service

@Component({
  selector: 'app-weather-display',
  templateUrl: './weather-display.component.html',
  styleUrls: ['./weather-display.component.css']
})
export class WeatherDisplayComponent {
  currentTemperature: number;

  constructor(private weatherService: WeatherService) { // Inject in constructor
    this.currentTemperature = this.weatherService.getTemperature('New York');
  }
}
In this example, the WeatherDisplayComponent relies on the WeatherService to get weather data. Instead of creating a new WeatherService instance inside the component, we use dependency injection. We inject the service through the constructor, making the weatherService available within the component. This keeps the component clean and focused on displaying the temperature.
Understanding the Jargon
Before diving in, let's clarify some key terms:
-
Dependency injection in Angular: A system for providing components with the services and resources they need.
-
Component requests: When a component needs a service to function, it "requests" it through dependency injection.
-
Constructor-based dependency injection: The most common approach, where dependencies are listed in the component's constructor.
The Hierarchical Dependency Injection System
Angular boasts a hierarchical dependency injection system. Picture a component tree, where your root component sits at the top. This root component has a special injector, called the root injector, responsible for creating service instances. These service instances are then shared throughout the component tree structure.
Sharing vs. Isolation: It's All About Scope
Here's the beauty: by default, Angular provides the same instance of a service to all child components within a parent component. This promotes efficiency as components reuse the same service instance. But what if a component needs its own injector and a new instance of a service? Here's where provider scoping comes in.
Provider Scopes: From Application-Wide to Component-Level
The providers' property in Angular decorators like @Component and @NgModule allows you to configure how services are provided. Here's a breakdown of common scopes:
-
Application-wide singleton: Register a provider at the root module level for a single instance throughout the application. (Think authentication service)
-
Component-level: Register a provider within a component to create a new instance specific to that component. (Useful for services managing local data)
Best Practices
For those who crave more, Angular offers features like:
-
Hierarchical injectors: Create child injectors within the component tree for more granular control over service instances.
-
Multiple instances: Register multiple providers for the same service with different configurations.
The Recipe Service - Our Helpful Assistant
Think of a service class as a helpful assistant in your kitchen. This assistant called the RecipeService in our case, knows how to find recipes online or in a local database. It takes care of all the messy details of fetching recipe data.
Here's a simple example of a RecipeService class:
TypeScript
import { Injectable } from '@angular/core';
import { HttpClient } from '@angular/common/http';

@Injectable({
  providedIn: 'root' // This makes it a single assistant for the whole app
})
export class RecipeService {

  constructor(private http: HttpClient) { }

  getRecipes(): Promise<Recipe[]> {
    return this.http.get<Recipe[]>('https://api.example.com/recipes');
  }
}

interface Recipe {
  id: number;
  name: string;
  ingredients: string[];
}
Explanation:
-
This RecipeService is decorated with @Injectable, telling Angular it's a service we can rely on.
-
providedIn: 'root' makes it a singleton service, meaning there's only one instance throughout the application (like having one main assistant).
-
The service injects the HttpClient to make calls to a recipe API.
-
It has a method called getRecipes that fetches an array of recipes from the API.
The Recipe Component - Asking for Help
Now, let's look at the RecipeComponent that displays recipe information. This component relies on the RecipeService to get recipe data:
TypeScript
import { Component, OnInit } from '@angular/core';
import { RecipeService }  from './recipe.service'; // Import the service

@Component({
  selector: 'app-recipe-list',
  templateUrl: './recipe-list.component.html',
  styleUrls: ['./recipe-list.component.css']
})
export class RecipeListComponent implements OnInit { // We'll get to OnInit later

  recipes: Recipe[] = [];

  constructor(private recipeService: RecipeService) { } // Inject in constructor

  ngOnInit() {
    this.recipeService.getRecipes() // Call the service method
      .then(recipes => this.recipes = recipes); // Store fetched recipes
  }
}
Explanation:
-
We import the RecipeService because the component needs its help.
-
In the constructor, we use constructor injection to tell Angular that the RecipeListComponent needs a RecipeService. Look at private recipeService: RecipeService. This injects the service instance into the component.
-
The ngOnInit lifecycle hook is a good place to fetch data. Here, we call the getRecipes method from the injected recipeService.
-
Once the recipes are fetched, we store them in the recipes array of the component.
DI in Action - The Delivery of Helpful Assistant
When Angular creates the RecipeListComponent, it also looks for the RecipeService because it sees it listed in the constructor. Here's what happens:
-
Angular finds the RecipeService because it's marked as @Injectable.
-
Since it's providedIn: 'root', there's only one instance of the service.
-
Angular injects this single instance of the RecipeService into the RecipeListComponent through the constructor (private recipeService).
-
Now, the component has access to its helpful assistant and can call its methods like getRecipes.
Benefits of DI: Keeping Things Clean and Organized
Using DI keeps your components clean and focused on their specific tasks. The RecipeComponent doesn't need to worry about how to fetch recipes; it just asks its RecipeService assistant for help. This makes your code more modular, easier to test, and easier to maintain as your application grows.
From Theory to Practice: A Simple Example
Let's consider a login component that injects an AuthService for Google Sign-in. We can use constructor injection to achieve this:
TypeScript
import { Component } from '@angular/core';
import { AuthService } from './auth.service';

@Component({
  selector: 'app-login',
  templateUrl: './login.component.html',
  styleUrls: ['./login.component.css'],
  providers: [AuthService] // Register AuthService within this component
})
export class LoginComponent {
  constructor(private authService: AuthService) { }

  onGoogleSignIn() {
    this.authService.signInWithGoogle();
  }
}
In this example, the LoginComponent has its own instance of AuthService, allowing it to handle Google sign-in independently.
Flowchart for dependency injection (DI) in Angular:
+-------------------+
|  Component Needs  |
|    Service       |
+-------------------+
        |
        v
+-------------------+
|  Inject in        |
|  Constructor      |
+-------------------+
        |
        v
+-------------------+
|  Angular Injector  |
+-------------------+
        |
        v
+-------------------+
|  Find Provider    |
+-------------------+
        |
        v (Yes)
+-------------------+
|  Provider Found   |
+-------------------+
        |
        v
+-------------------+
|  Create Instance  |
+-------------------+
        |
        v
+-------------------+
|  Inject Service   |
|  into Component   |
+-------------------+
        |
        v
+-------------------+
|  Component Uses   |
|    Service        |
+-------------------+
Explanation:
-
Component Needs Service: The process starts with a component identifying that it needs a specific service to function.
-
Inject in Constructor: The component declares the service as a dependency in its constructor using constructor injection.
-
Angular Injector: When the component is created, Angular's injector kicks in.
-
Find Provider: The injector searches for a provider that specifies how to create the requested service. Providers can be registered at different levels (application-wide, component-level).
-
Provider Found (Yes): If a provider for the service is found, the injector proceeds.
-
Create Instance: The injector uses the provider configuration to create a new instance of the service (singleton or per-component).
-
Inject Service into Component: The injector injects the newly created service instance into the component through the constructor arguments.
-
Component Uses Service: Finally, the component has access to the service and can utilize its functionalities to perform tasks.
The Takeaway
Dependency injection is a powerful tool in your Angular arsenal. By mastering its core concepts, you'll write cleaner, more testable, and scalable applications that can grow with your needs. So, delve deeper, experiment with different provider scopes, and unlock the full potential of dependency injection in your Angular projects!

Related articles